The drive on Monday went well. The transmission was quiet and smooth. The clutch didn't give any issues in the slow traffic back across town to pick the kiddos up from school after work.
Finished this up today. (Had it done yesterday, but didn't have time to put the battery back in and test drive it)
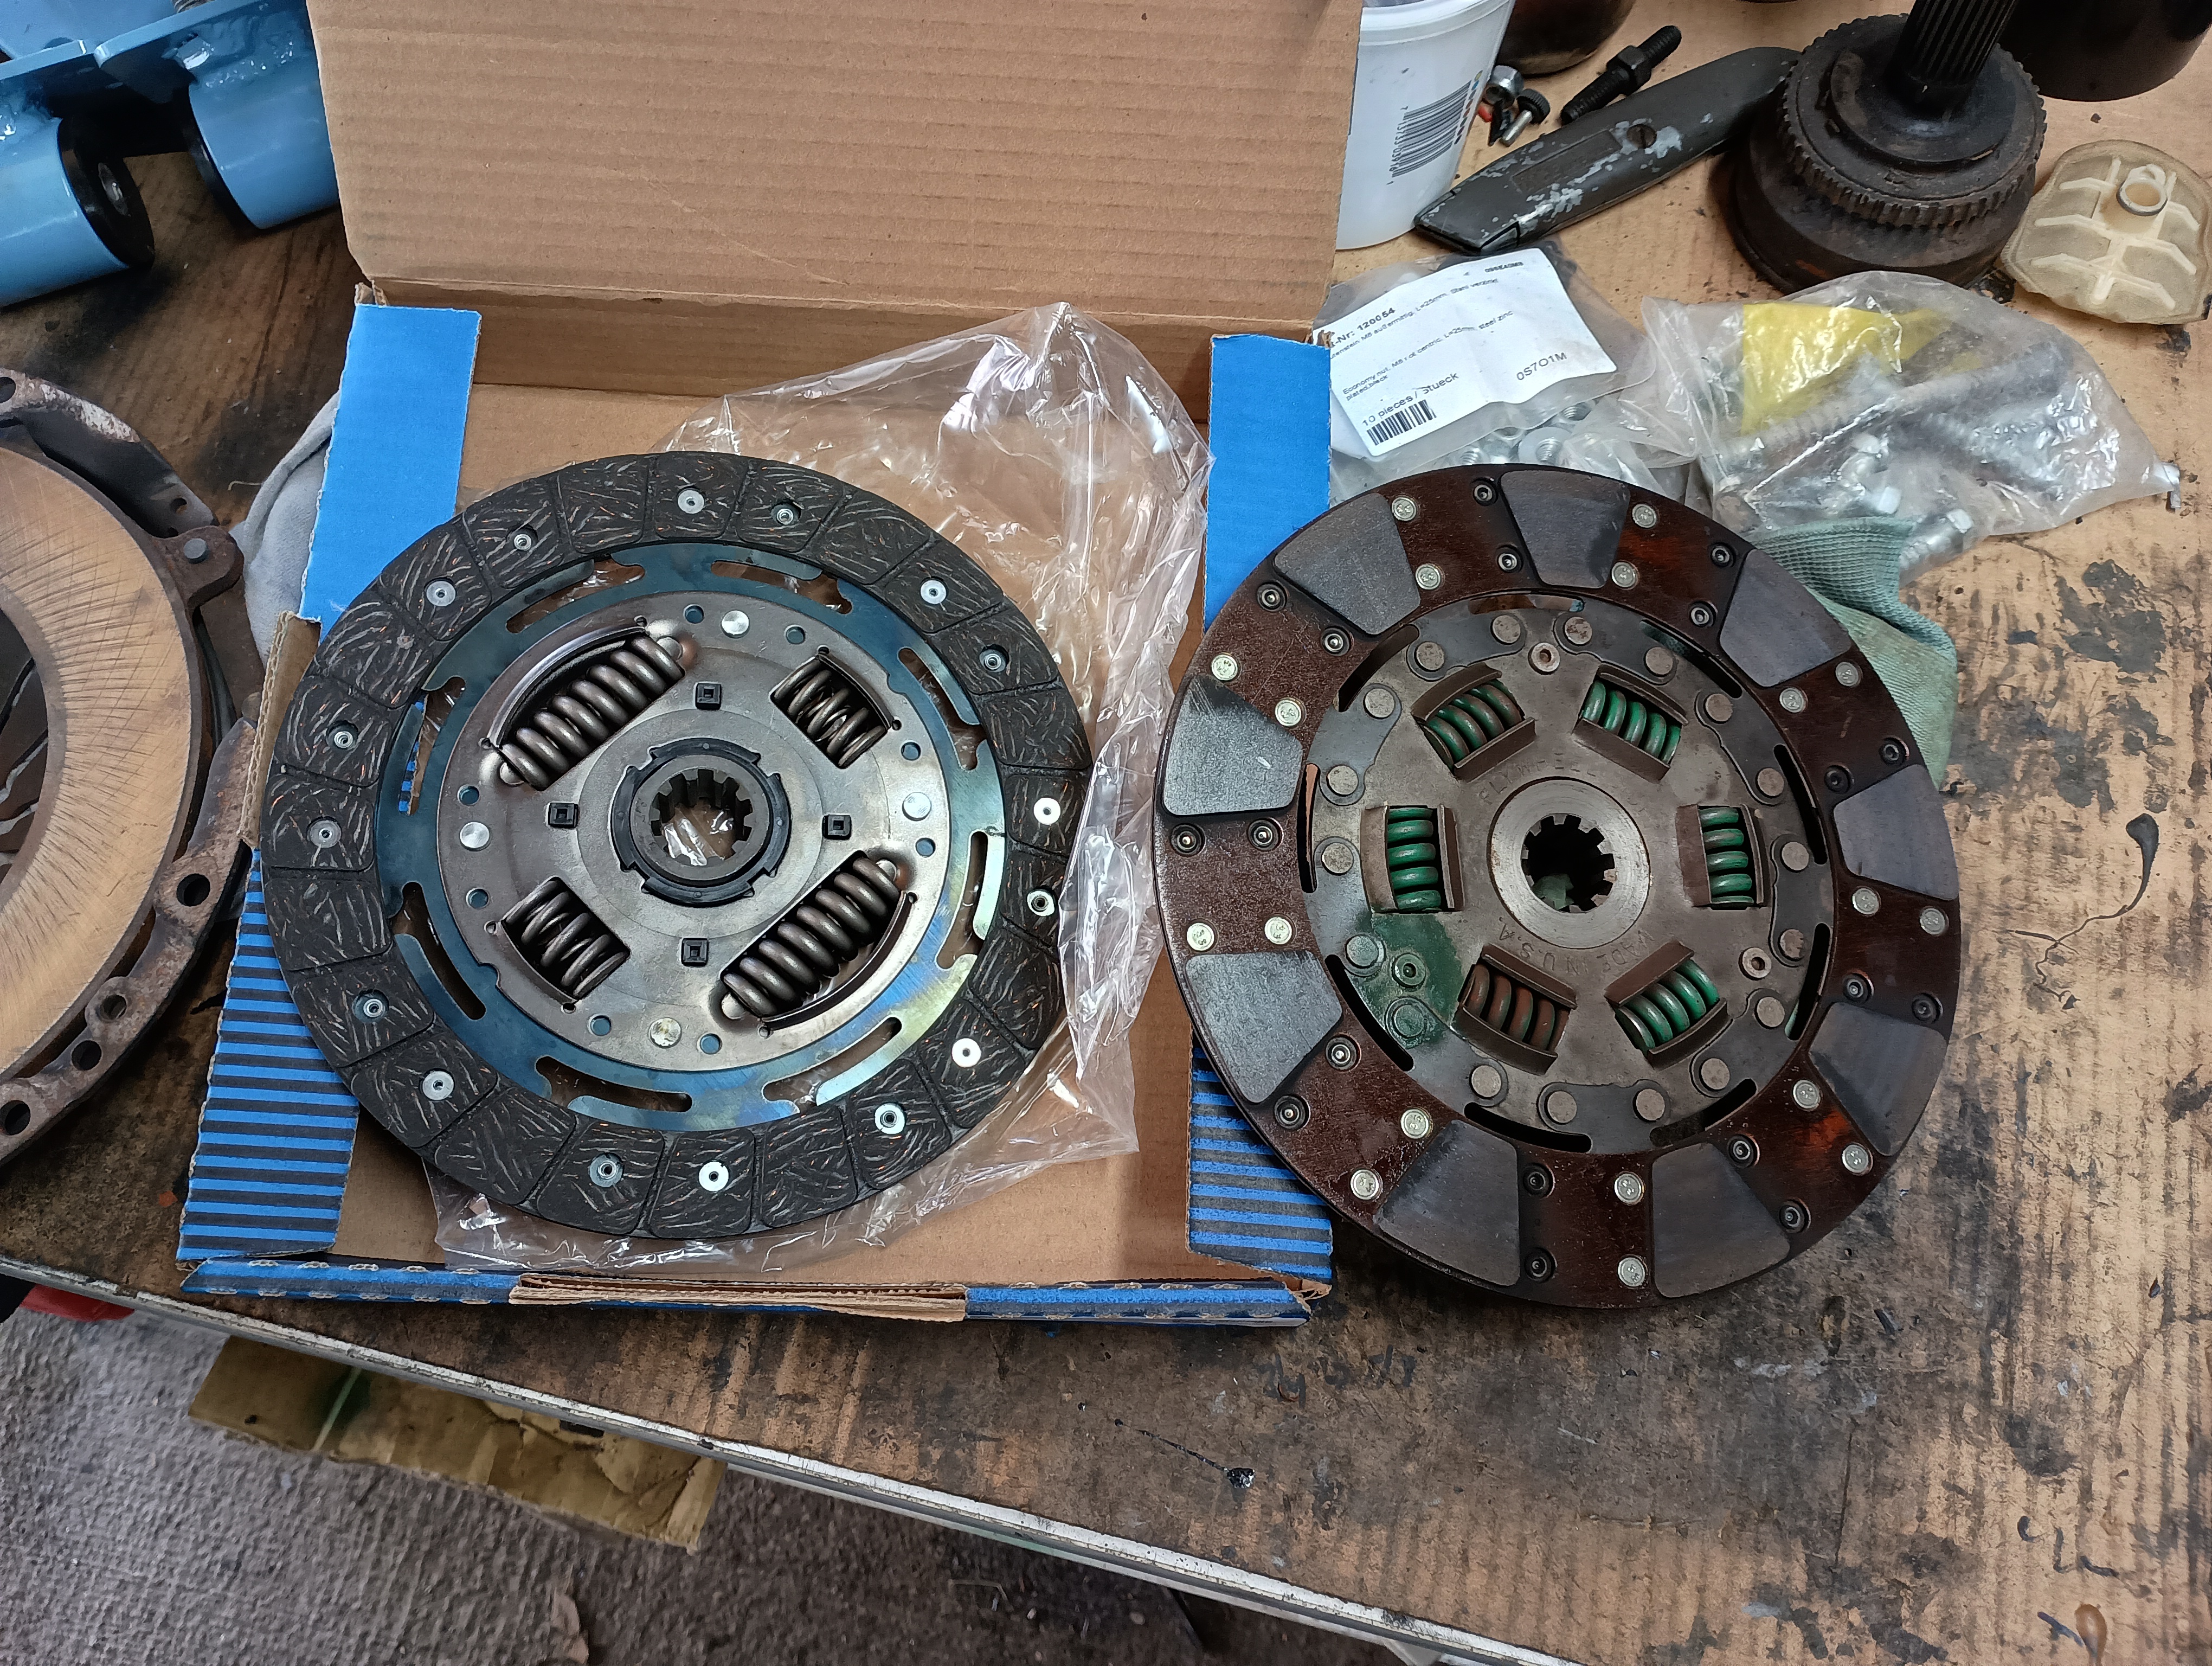
Got the clutch disc swapped out.
Not too keen on the seemingly sparse friction material on the Sachs SD1228, but I'll run it for now. The 9-puck just doesn't play nice w/o revving the hell out of it to get things moving.
Put a new output seal on the replacement transmission, and the factory plug for the shifter box has long been gone (was using this trans for mock-ups on other projects), and I couldn't seem to find the proper part online, so I just turned down one from aluminum.
Old trans New trans
The -155 was from an 87-88 TC and the -162 was from an 87-93 2.3 EFI Mustang. They are the same WC units, aside from the speedo drive gear.
This required me changing my driven gear from the 19T I had in there to a 17T for the 3.55 gears.
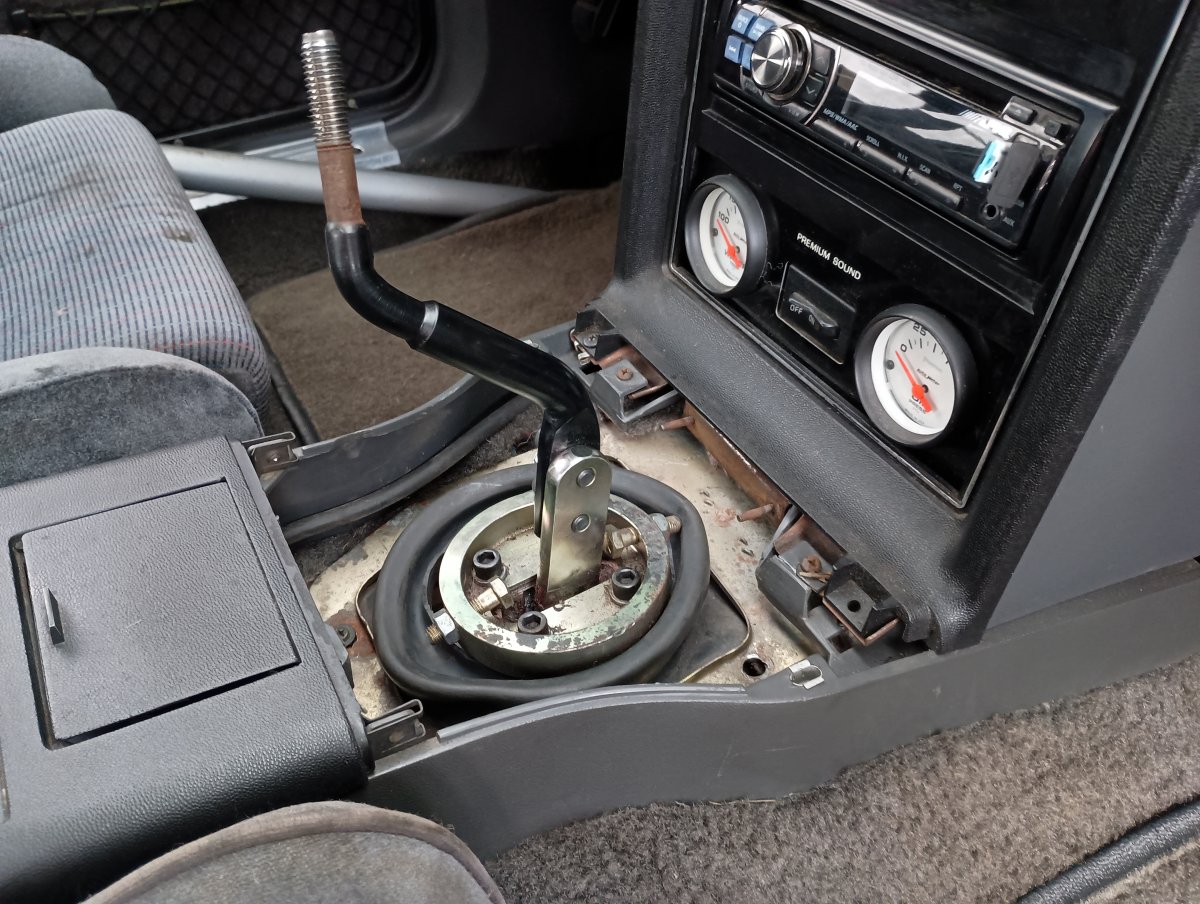
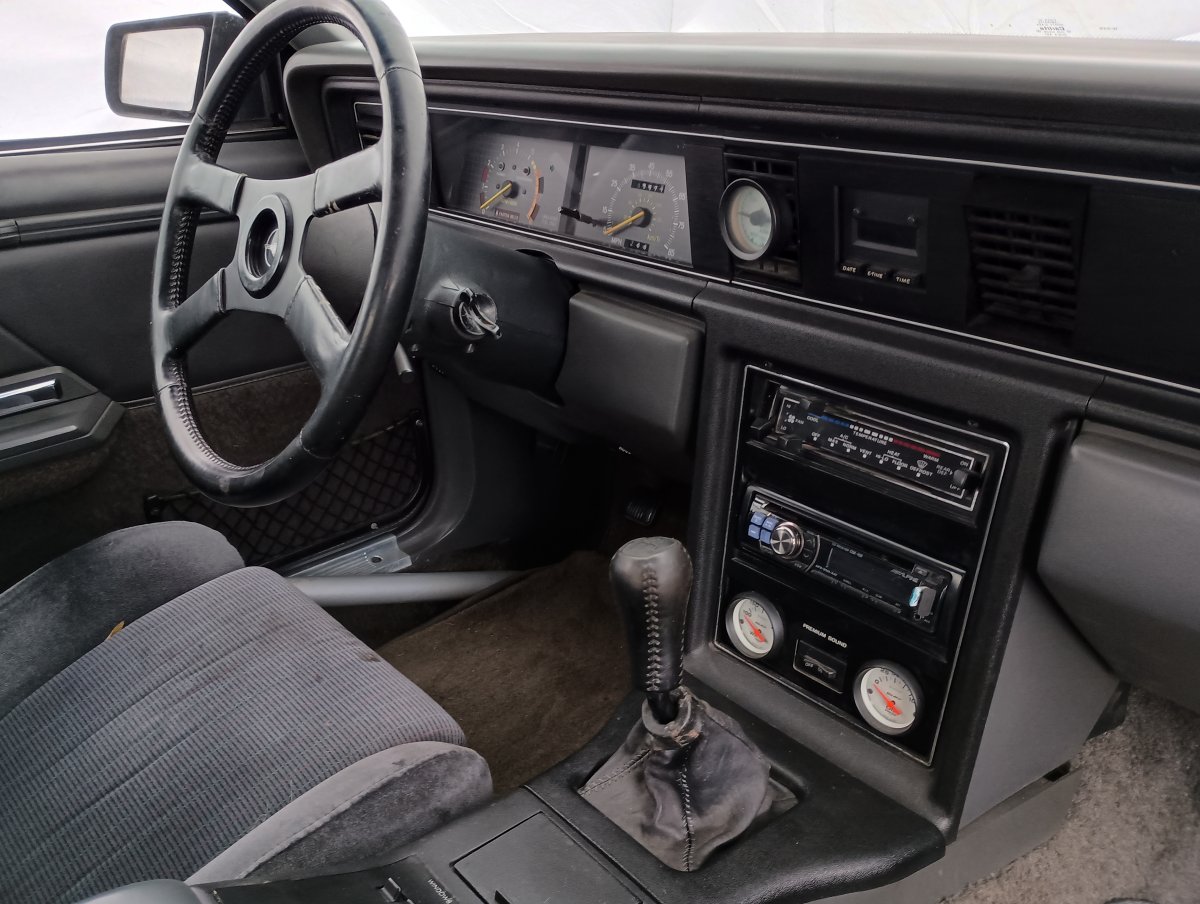
Once the under-car stuff was done, I got the Pro 5.0 shifter reinstalled and buttoned up the console.
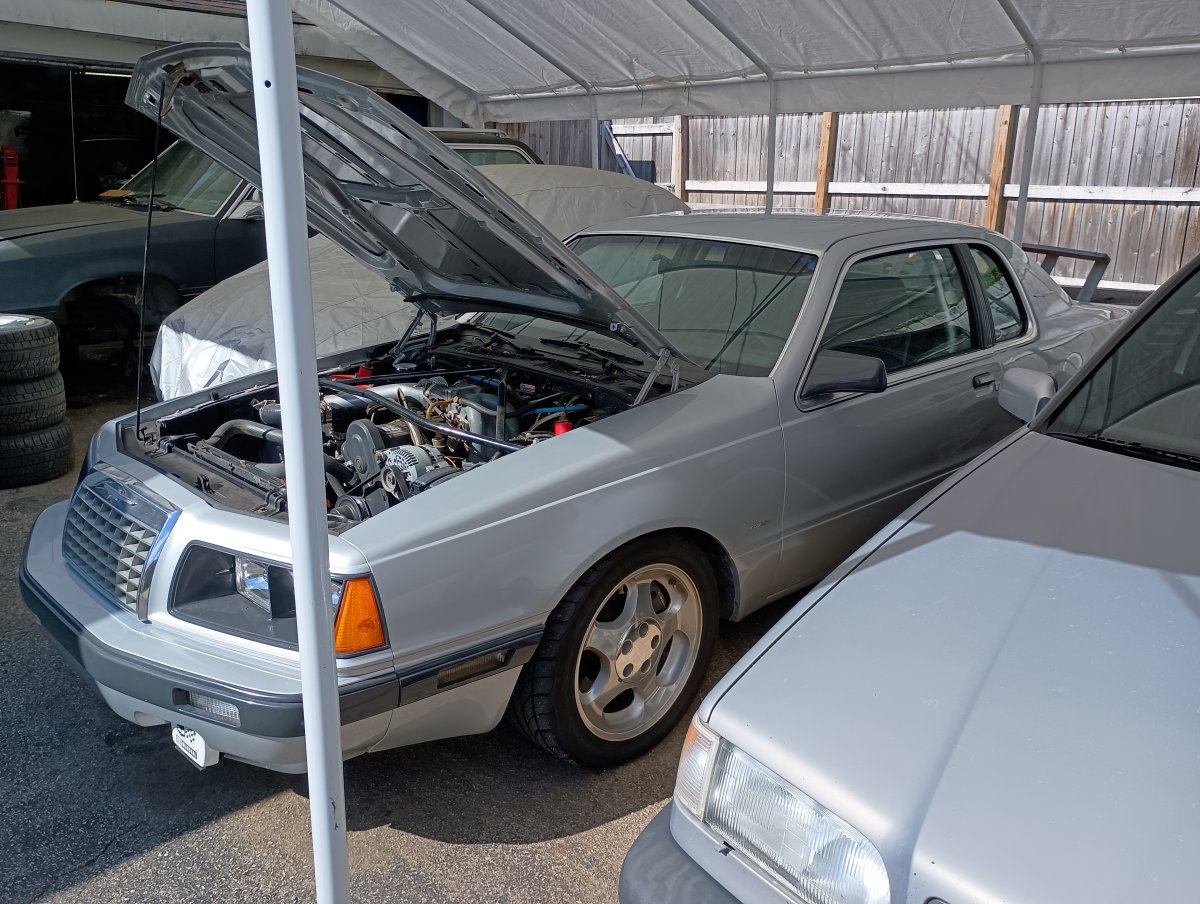
Fired it up this morning and took it for a test drive.
Everything seems to be playing nice, so we're back in action. I do need to bite the bullet and buy new tires for it, though.
Well, the roof wrap hasn't happened, as winter set in before I could get around to it, and things have been busy since the first of the year. (And the weather is just now starting to cooperate)
Today was the day, however, that I got started on the transmission and clutch disc R&R. Got the car in the air and got everything removed in the cabin and got started underneath.
As a reminder, the transmission is being swapped out because the synchros in the current one are shot and the 6-puck clutch disc doesn't play nice in traffic.
Without being in front of it, it's kind of hard to remote trouble-shoot, but that is an odd scenario.
It's highly possible that metal shelf is getting a mild ground through the concrete, which can be an electrical conductor.
One of the notes I found
Quote
Concrete on grade level, because it will absorb moisture from the earth and be a good conductor in direct contact with the earth, is always considered to be at ground potential
Probably why you were getting a mild shock with wet shoes on the slab, and why you may be seeing the minor voltage potential you are.
It's a pain to get to, but how often does one really need to access it. It shouldn't be a problem to relocate it pretty much anywhere else.
Thanks for the note on the EFI relay on the CFI cars. I'll be doing a port injection swap with a MegaSquirt on the LTS and I'll make sure I swap out the relay.
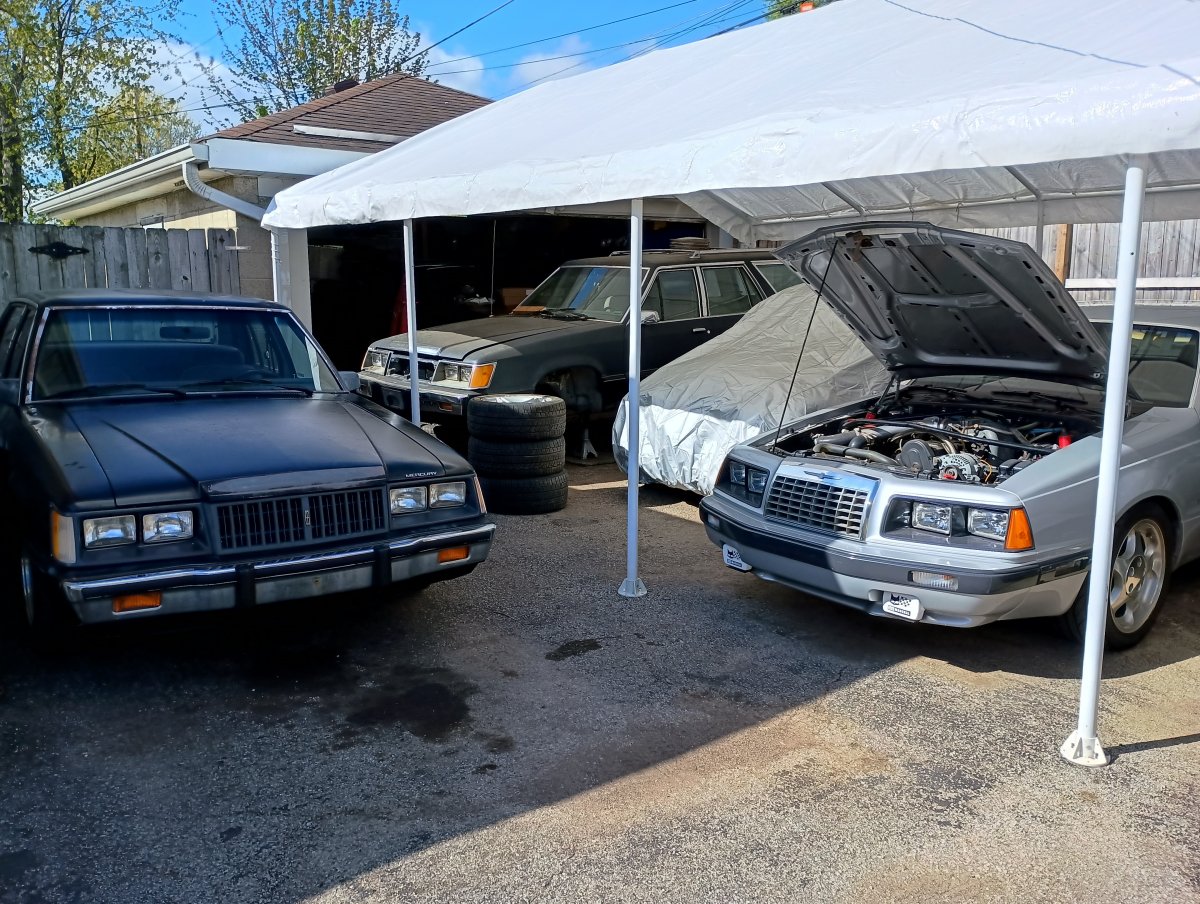
Life and winter has hampered progress, but here's where we sit at the moment.
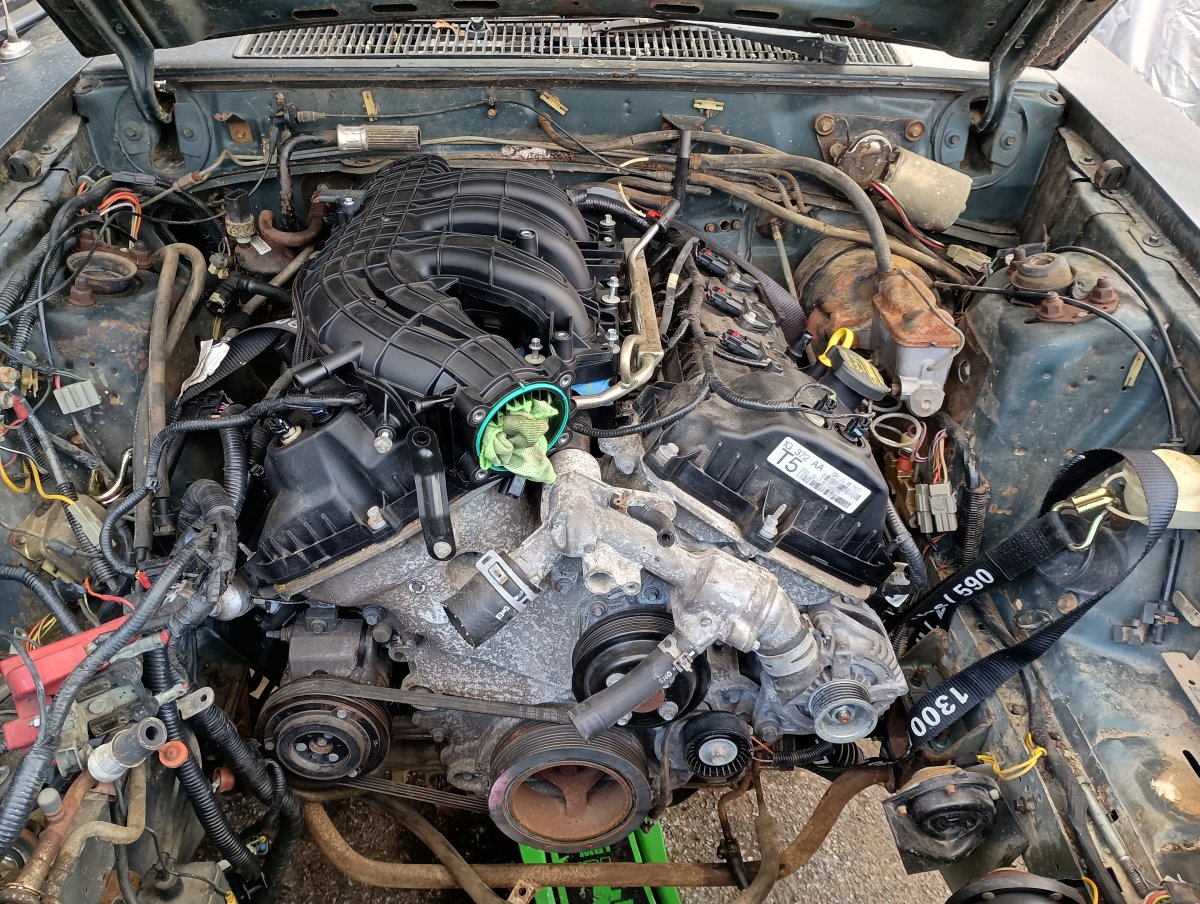
In the bay with the 2015-17 intake.
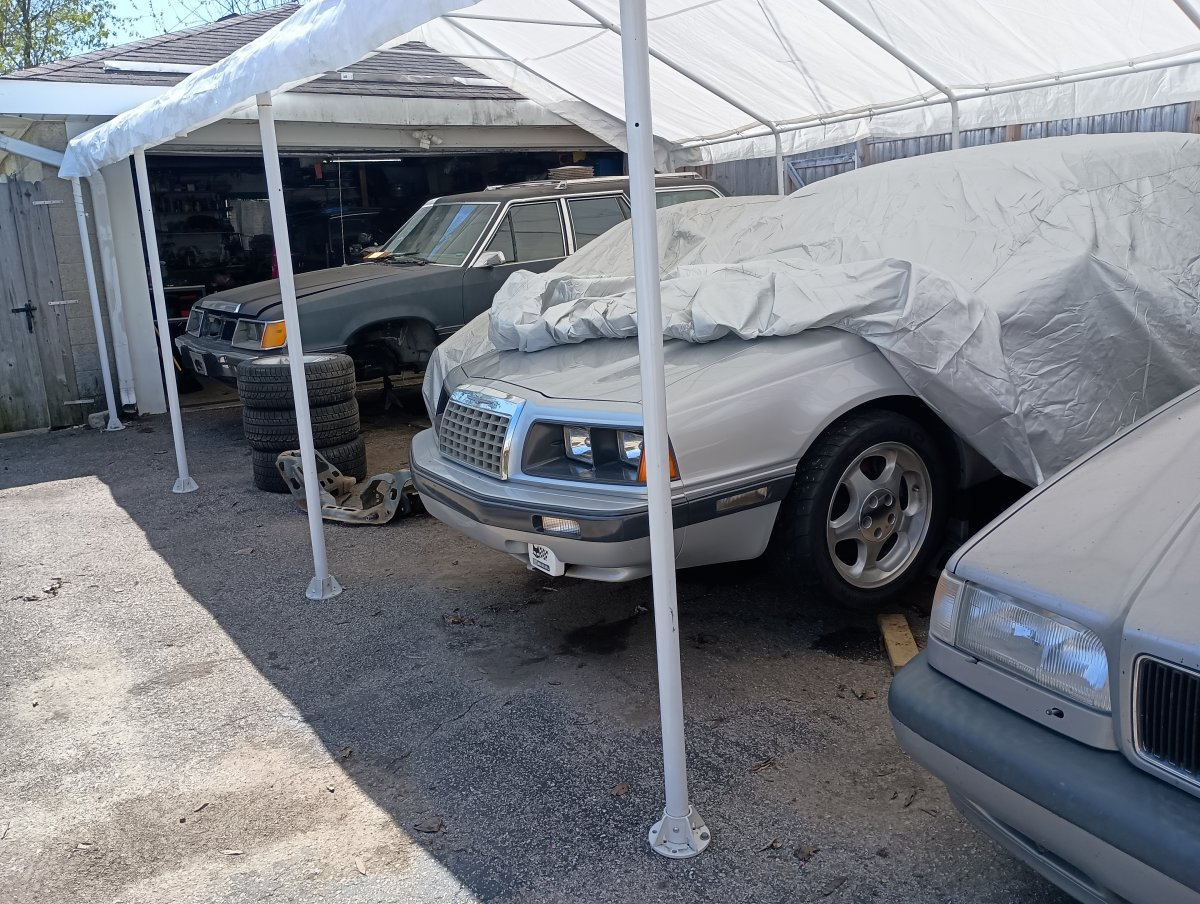
All with the hood closed.
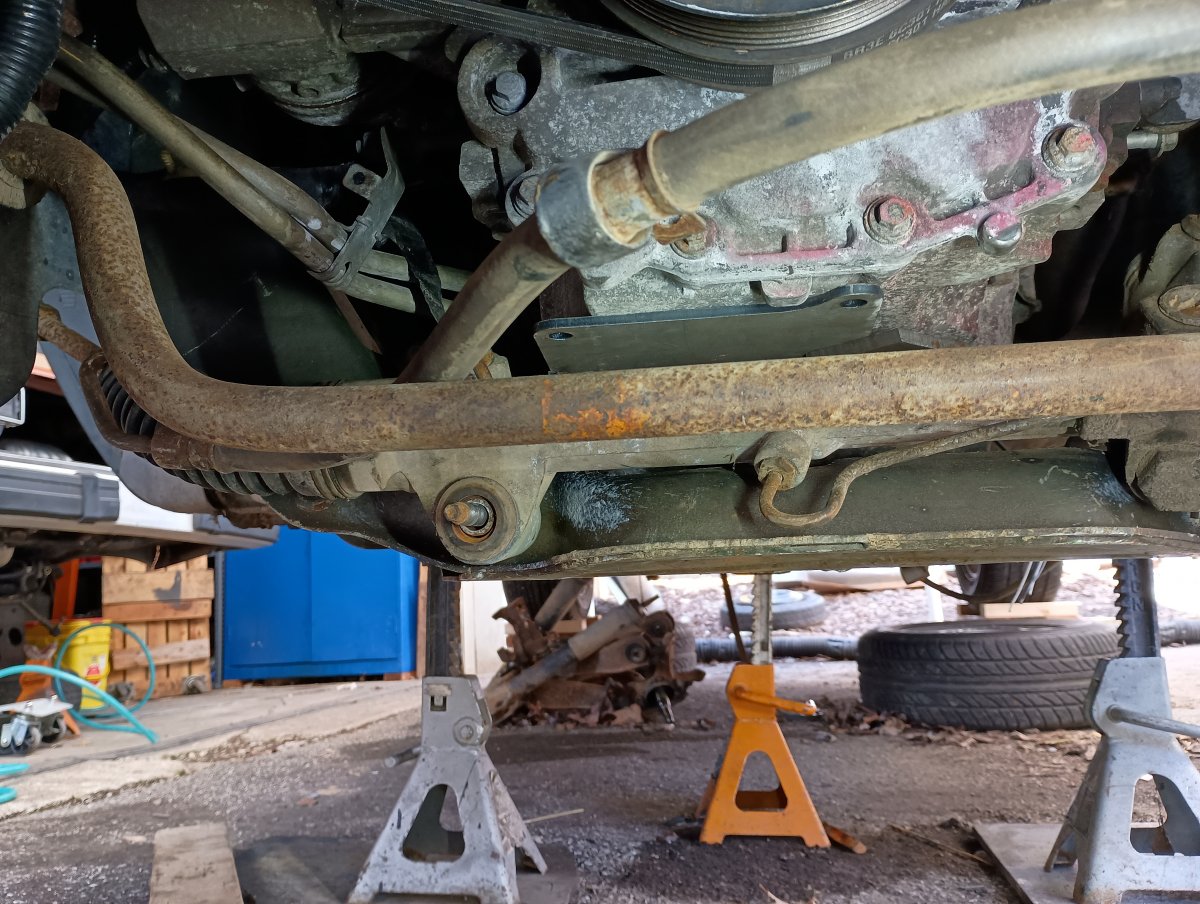
I went to a 96-04 Kmember, as I needed a little more drop under the oil pan. Still needed to clearance the back of the Kmember to get the pan down and foreward.
I have about 1/4" between the oil pan and the rack, but as you can see, the pan is still tucked up under the K-member
Right now I'm sorting out motor mounts. I have a couple ideas on what I want to do, but we'll see which one pans out. Ironically, I may wind up welding the factory mount pads back on, even if they're in a slightly different location.
The only real clearance issue is the u-joint on the steering shaft with the DS exhaust manifold. I think I can make it work OK with a little engine placement, a spendy steering shaft, and some clearancing (meaning grinding).
I basically just need the harness for the injectors.
This is getting connected to a MegaSquirt, which only has 2 injector banks. I'm going to adapt the injector harness into the old CFI harness that went to the TBI unit. Basically batched like the 85-87 trucks.
(I have all of the wiring diagrams, etc)
I haven't delved into it too much here, as it's an "other" project (The 85 LTS).
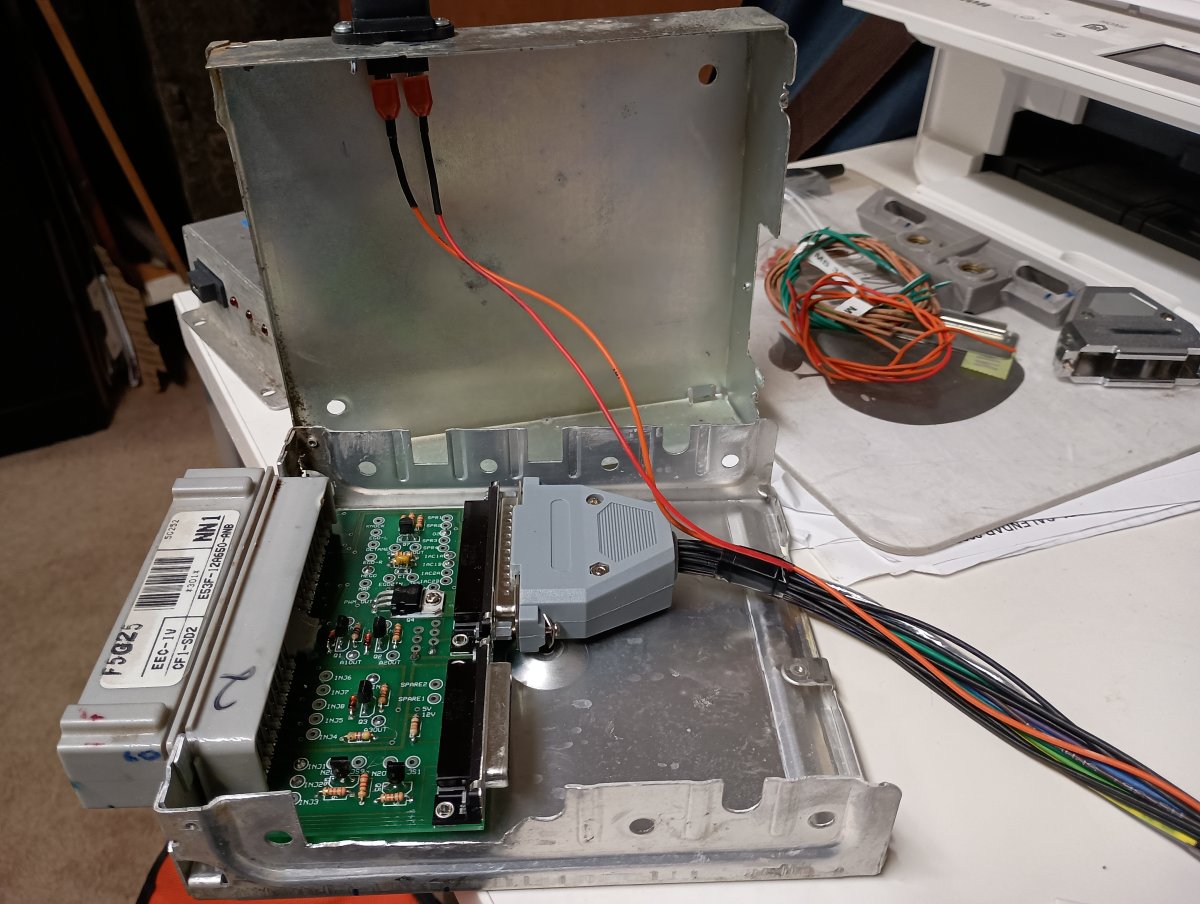
I have an OLD EECIV to MS adapter board that I'm using, to just tie the MS unit directly into the existing harness on the CFI 5.0 with a couple modifications on the engine side.
You never want to do a rear window replacement on a Ghia or any window with an "H" shaped rubber gasket surround EVER!!!
It is a work of art using a long wire and lubrication to install. Problem is the only people who know about this are either dead or on thier way so i had no supervision or guidance as to how to do it. the wife and i struggled but we got it.
Sounds like the "rope" trick would've worked too. The windows on the Volvo 240s are held in the same way.
A piece of string/rope into the valley of the outside of the gasket, with both ends accessible from the inside of the car, usually on the bottom. Place the window in it's location from the outside, resting on the lower section of the gasket. Have one person hold it in place, while the other works inside to pull the rope out of the gasket, which pulls it over the sheetmetal and into place.
Thanks for info Chuck . Will 87 thunderbird turbo coupe 2.3 engine mounts(pedestals) fit with 86 cougar xr7 2.3 ? Are they interchangeable can I go with hydraulic mounts ? Any info were to by stock direct fit thanks sal
Look back at my post where I linked to RockAuto (In red) for isolators that you can use. Pick some, hydraulic or solid, and install them into the stock brackets.
If he doesn't have the original brackets, new isolators aren't going to help. Which was another reason I asked what poly mounts he used, as I'm not aware of any drop-in poly isolators for the stock-type brackets on the car.
As far as "performance" stock type isolators, there really isn't anything. You have to give up some strength to get a smooth feeling in the cabin. I edited my post with the RA link so it could be more easily picked out. The solids are probably the stronger of the two, but give up a bit of smoothness.
If you still have stock brackets, pick out a set of isolators and move on with things.