So I've had the idea for a good long while now to use LED's to act not only as a hood light, but to light the whole engine bay up but never quite had the best idea how to do it. I had come up with one plan and had started it where it involved a toggle-switched circuit that powered an LED setup. However, I didn't like the LED's that I was using and I didn't like the idea of having to switch the lights on. This was that previous setup:
Those lights were frikken bright but they were designed to have two modes - one solid, and one were the light would dance back and forth. Because of that they required a control box which you can see just a little further down on the hood below the right light, where the hood light would normally be located, and I did not like that box either.
You can see the switch I installed in the bottom center of this pic at the lower right corner of the front end frame:
Nothing wrong with the switch, and I will probably leave it there for some future project, but I just wanted to be able to have the lights automatically come on.
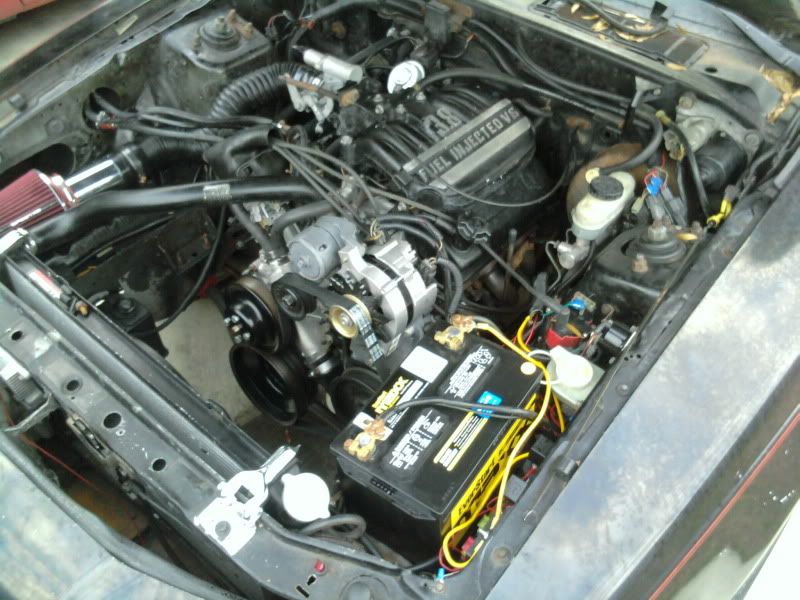
So, I decided that there must be a way to integrate a circuit into a conventional gravity/mercury switch that powers a regular hood light. What I decided to do was take the light bulb out of a hood light, and install two banana connectors where the light plugs in. One conn in the pos side of the socket, and one conn in the neg side of the socket.
Since the stock hood light didn't function correctly for me, I went and got one out of a 90's bird, which I had in fact previously installed in my 96 which for some reason came without a hood light. I rigged it to work in the fox hood which was not difficult, just required two zip ties and a stock mounting hole.
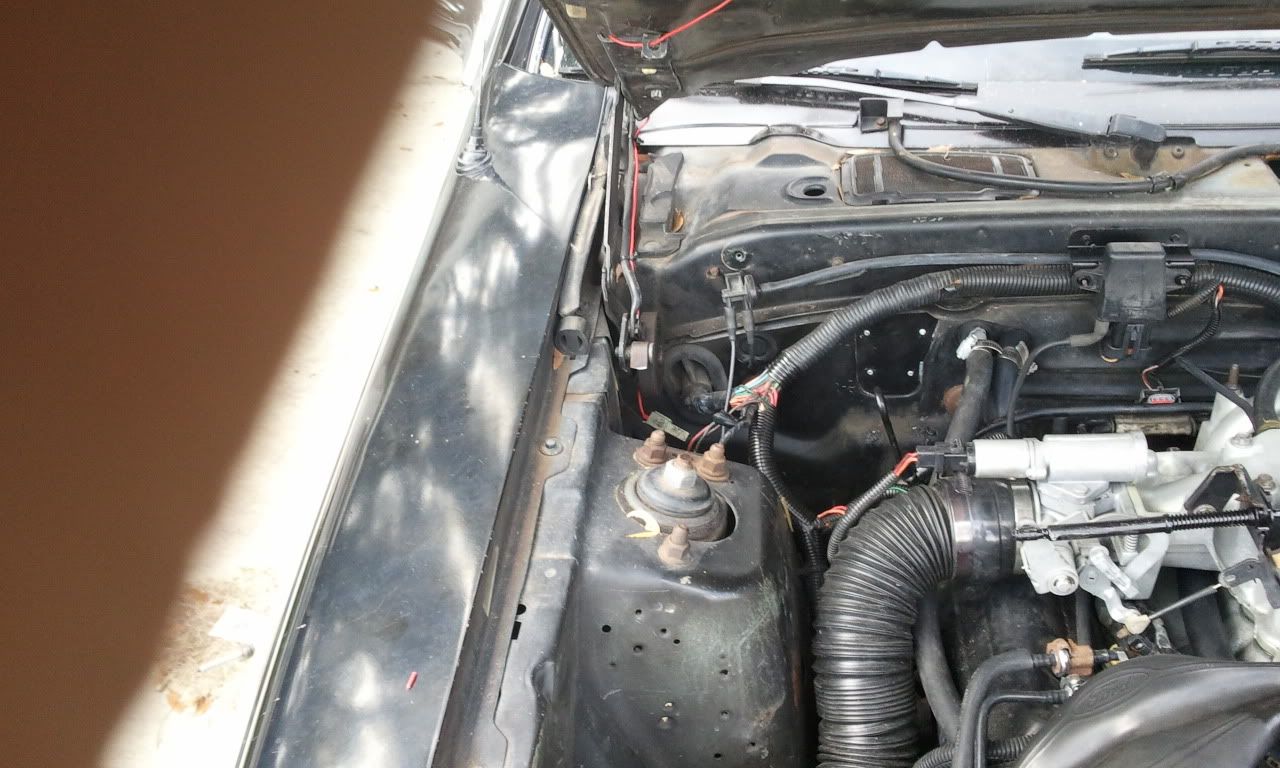
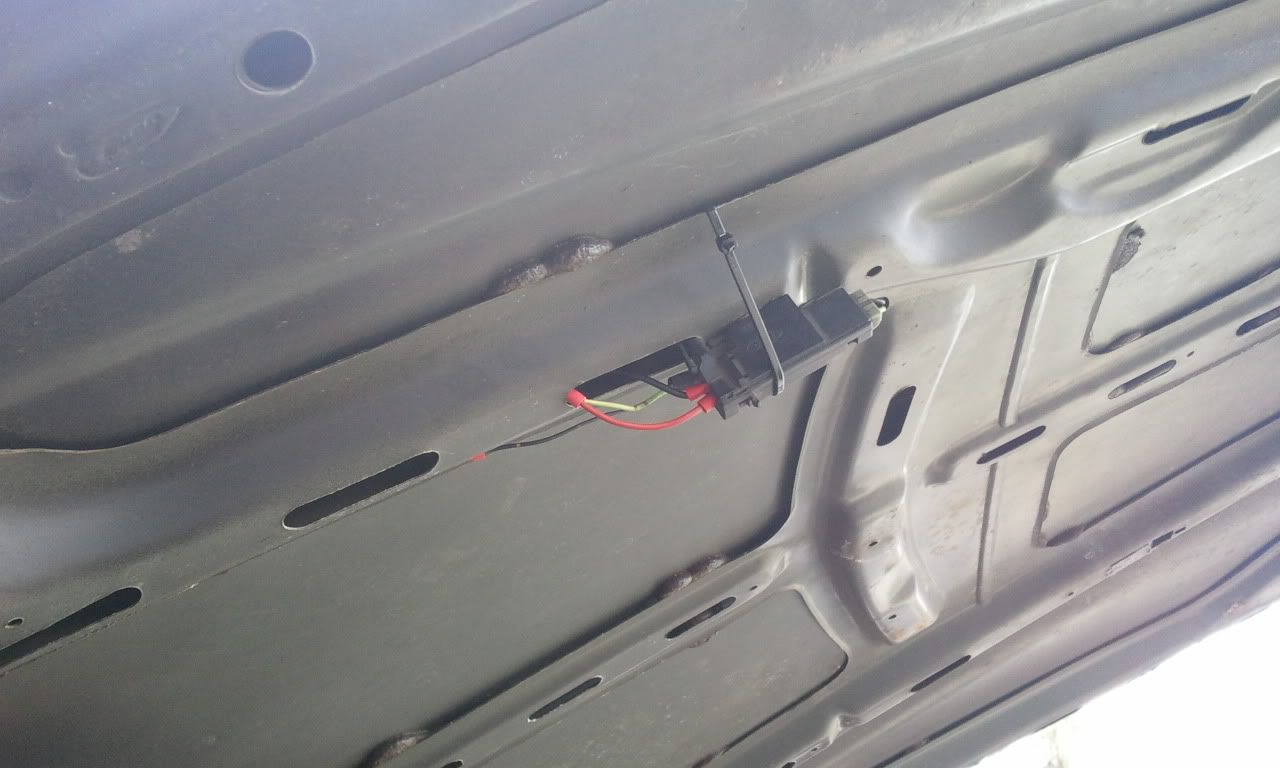
I then grounded the neg to the hood with a self tapper and eyelet connector and ran the pos through the hood framing/bracing and around the hood hinge and down into the existing stock hood light harness, which plugged in just fine with a female spade connector.
I started two lead wires for my LED strips to be tied into and now I am just waiting to get them and place them throughout the engine bay and hood.
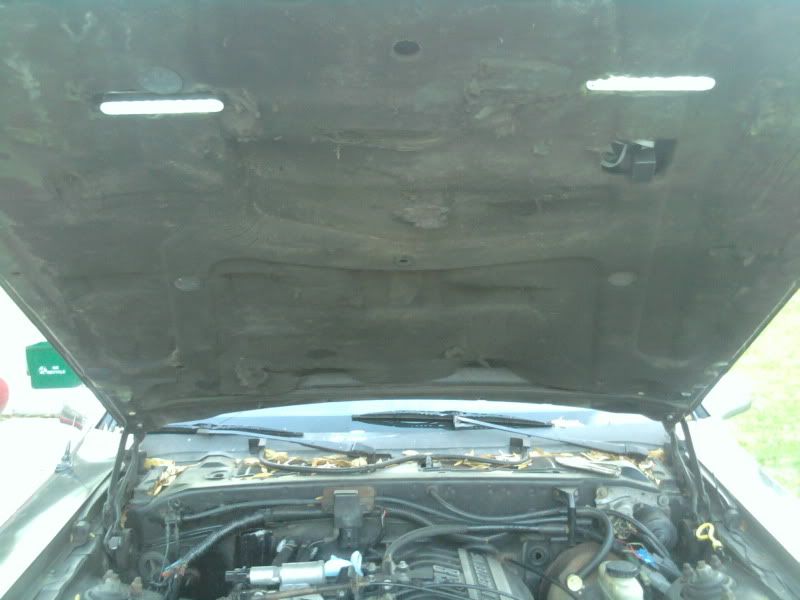
I checked my leads with a test light and I am getting power with hood up, and losing it with hood partially/completely down, just as it should correctly function. I also removed the hood liner as it was getting ratty and worn out, and would have made this little expedition very difficult if it had still been in place...
I had always thought it was a mercury switch like whats in the trunk and hoods of later birds but I got one today and can't seem to get it to turn off at any angle so apparently its always on? So if there is no switch in the socket, what tells the light to come on? I would troubleshoot this myself but my car never had a factory hood light so I have nothing to base it on...
Gonna have to replace all 4 tires soon and am curious to see what's available in stock size. I know I'm gonna be looking at $400+ no matter what but just looking to see treads mostly. If anyone's got some nice treads on 15" rims in the stock size, I would really like to see them and know what brand you're running:D I was running Falken's on this. They looked pretty good but they really didn't last long so I'm thinking of a change...
Oh, and if you're close and got some you'd like to unload real cheap lemme know!
I got a friend who is parting his stang and I can get some stuff real cheap from him. If the PW track regulator, motor etc will swap that would be awesome but I don't know if the shorter doors will be a problem? Also I'm pretty sure the lock actuator would be the same but I've been wrong before...
In case you have not heard, they're doing a thundercats reboot on CN. Its a completely new series using the original charcters and most of the story. The first episode was friday and the rest will be every Friday at 8 30.
Just that I'd share that. I used to like the old one and this one seems pretty good so far...
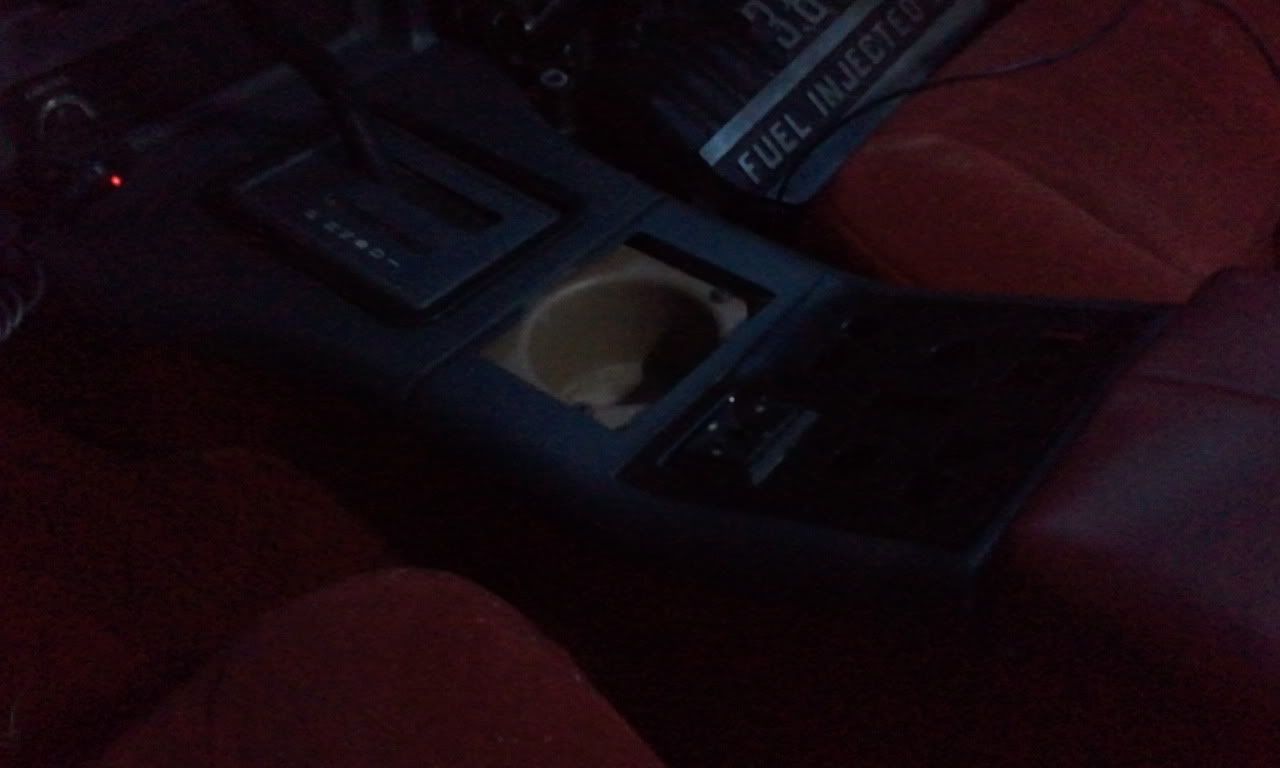
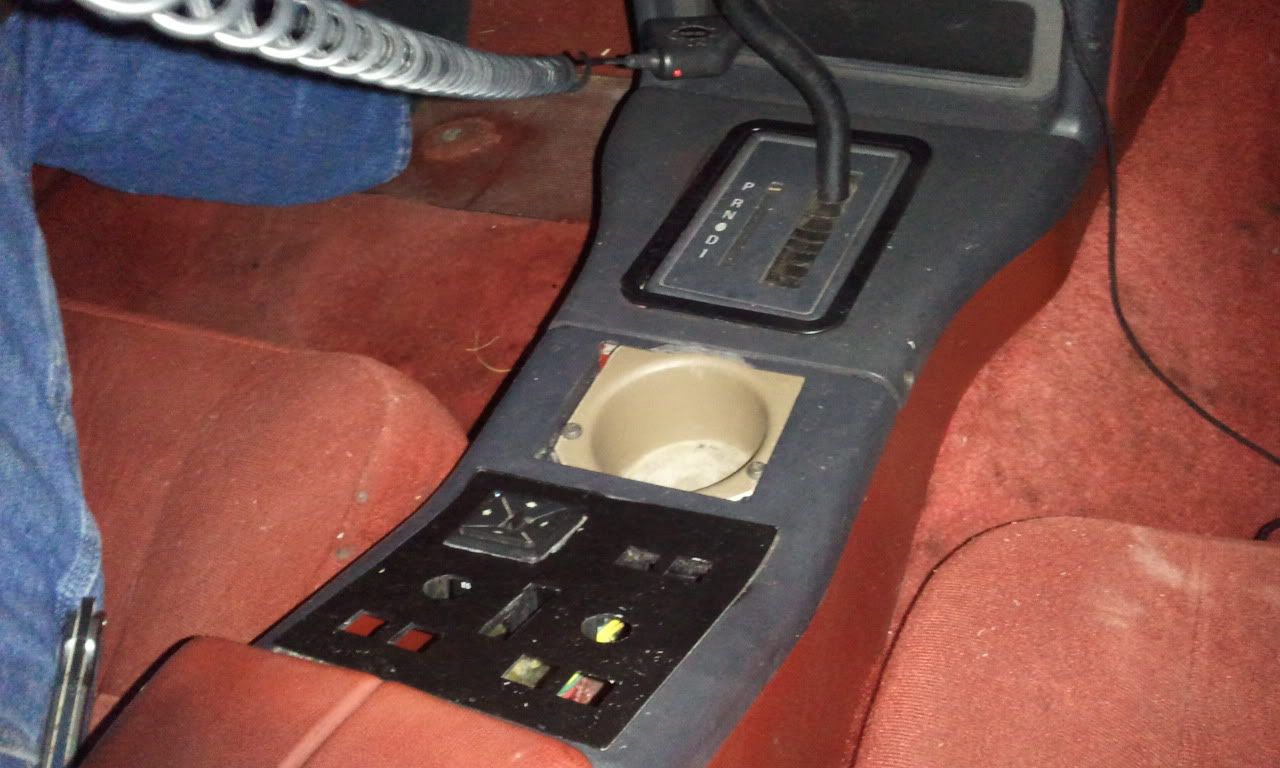
Yeah.... decided to get rid of that useless ashtray.. and, um, well it kinda worked, and it kinda didn't....
anyway I still gotta paint it the right color, and fill in the crack/seams.... and get the right screws, but other than that, well, it holds a drink..... :dunno:
I spent two hours screwing around in my door panel trying to fix this but I can't seem to figure it out. The window has had this problem since I got the car and I only glanced at it a long time ago and couldn't figure out the problem. I tried and tried and tried to figure it out tonight and I just don't get it.
What it does is when I roll the window up or down, it tilts. the side closest to the front of the car tilts down. I have noticed after looking inside the door, that its because the brackets slide in the track. Only thing is, I have no idea how to keep that from happening, since the whole idea is for it to slide in the track.
All my window channel is intact on both sides, and I can't seem to find any other problems. I tried loosing the bolts on the brackets and adjusting them and retightening them but to no avail. I'm losing my mind here people. Anybody know whats going on and how to stop it?
3 tests and every one's come back with a "Pregnant". Wife woke me up at 4 in the morning saying "read this!!" Well sorry at that time of night I'm still caught somewhere between the real world and asleep world.. so I thought I was dreaming lol. I had to make sure in the morning:giggle:
Kinda been a little absent this week/end cause we've been moving.
.....next door. Which is really a PITA cause when you're moving a long way well you've typically got enough sense to pack everything up into manageable boxes/etc but when going literally next door well you just make eight thousand trips with as much as you can carry in your hands at once:rollin:
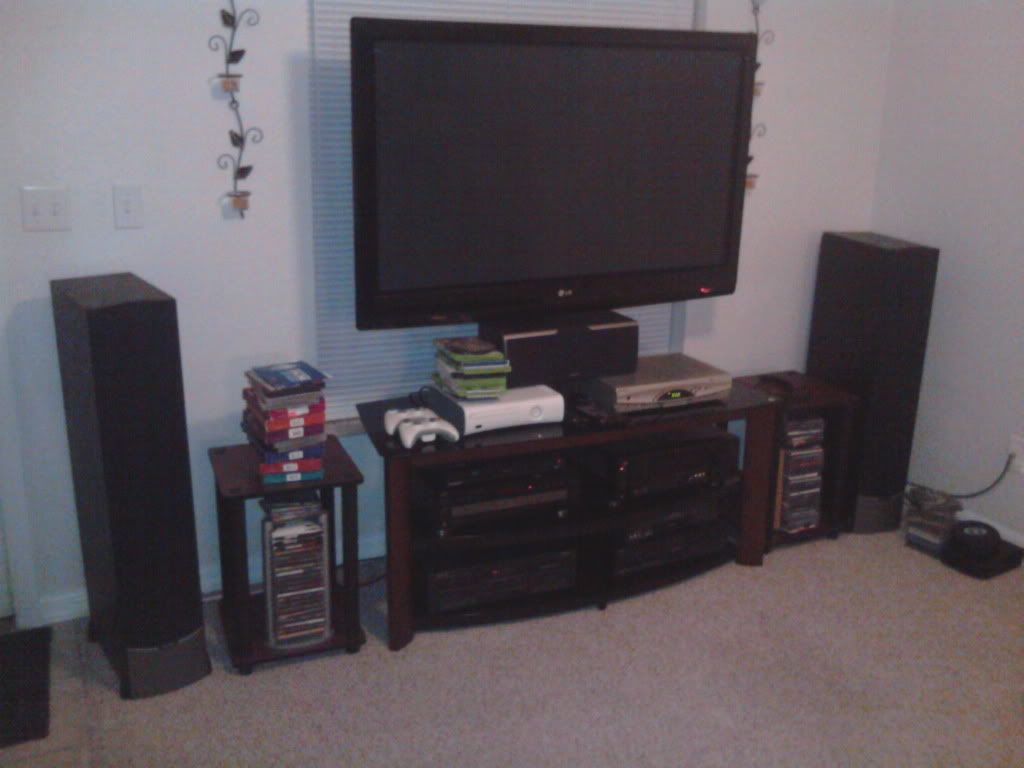
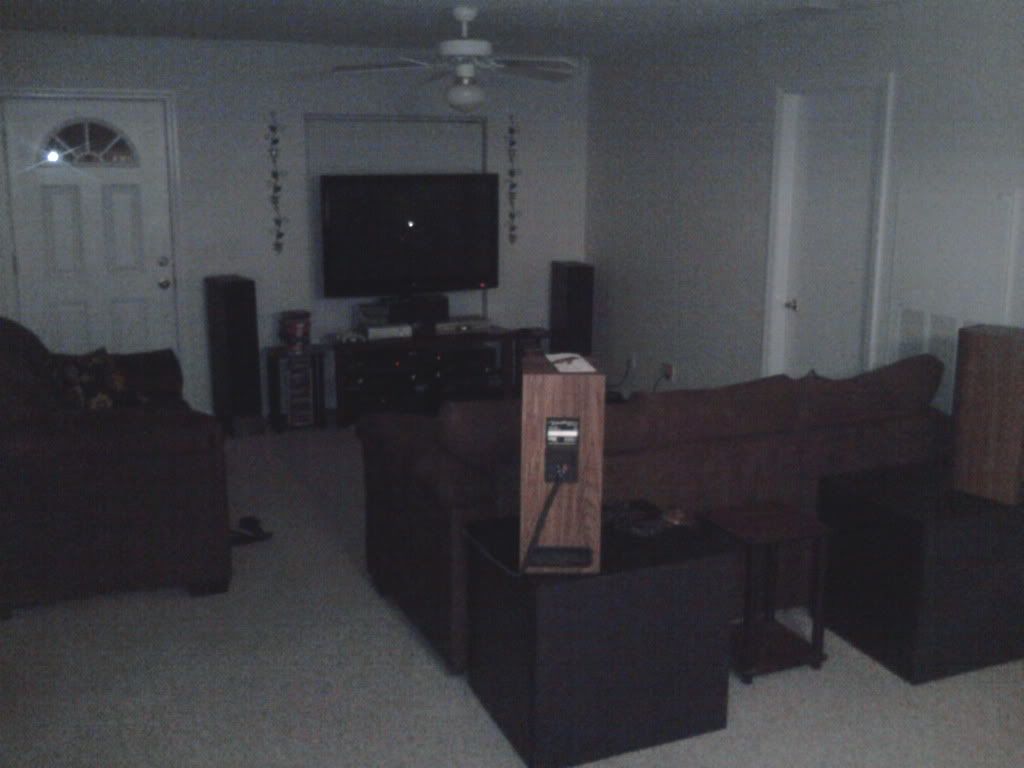
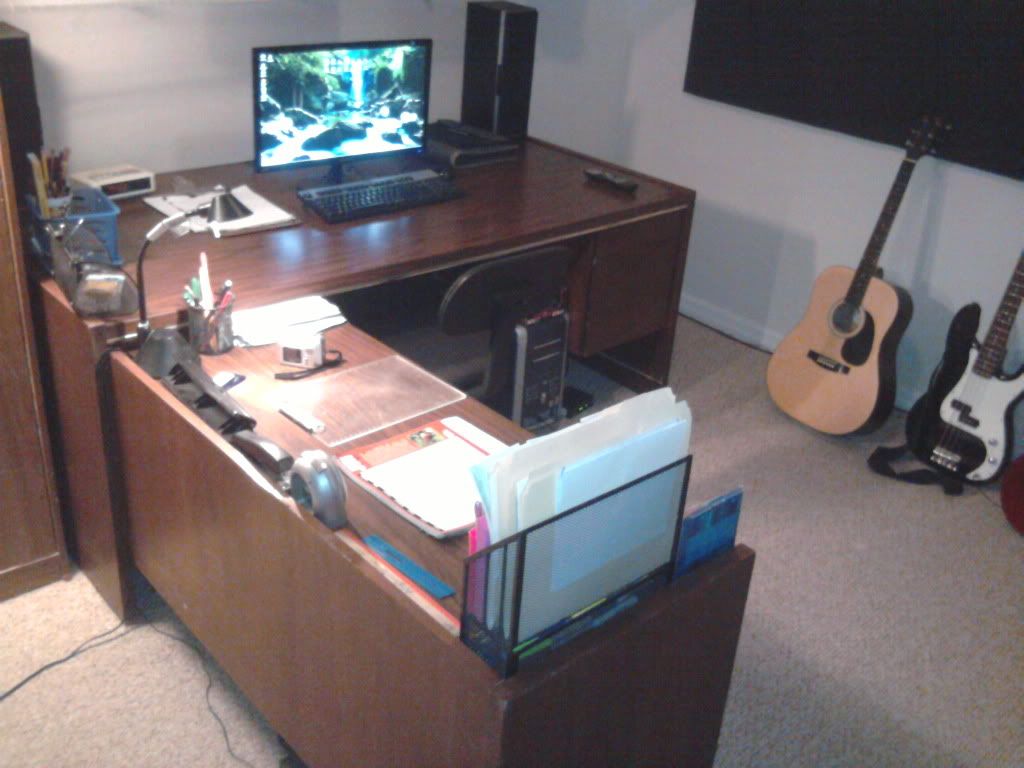
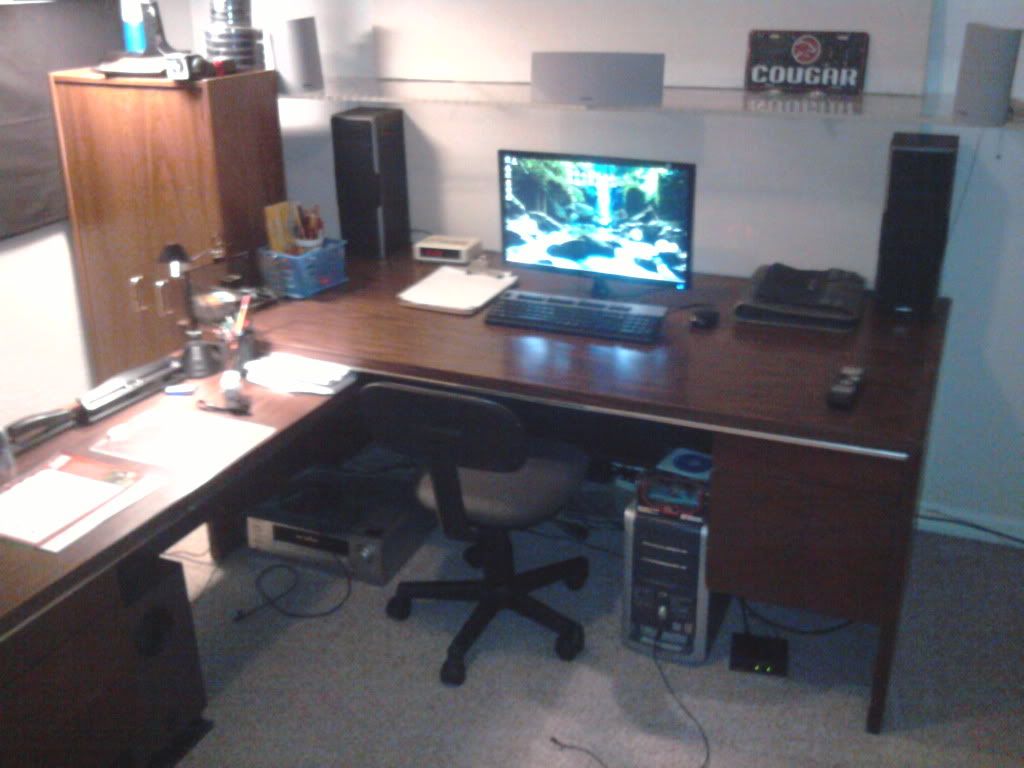
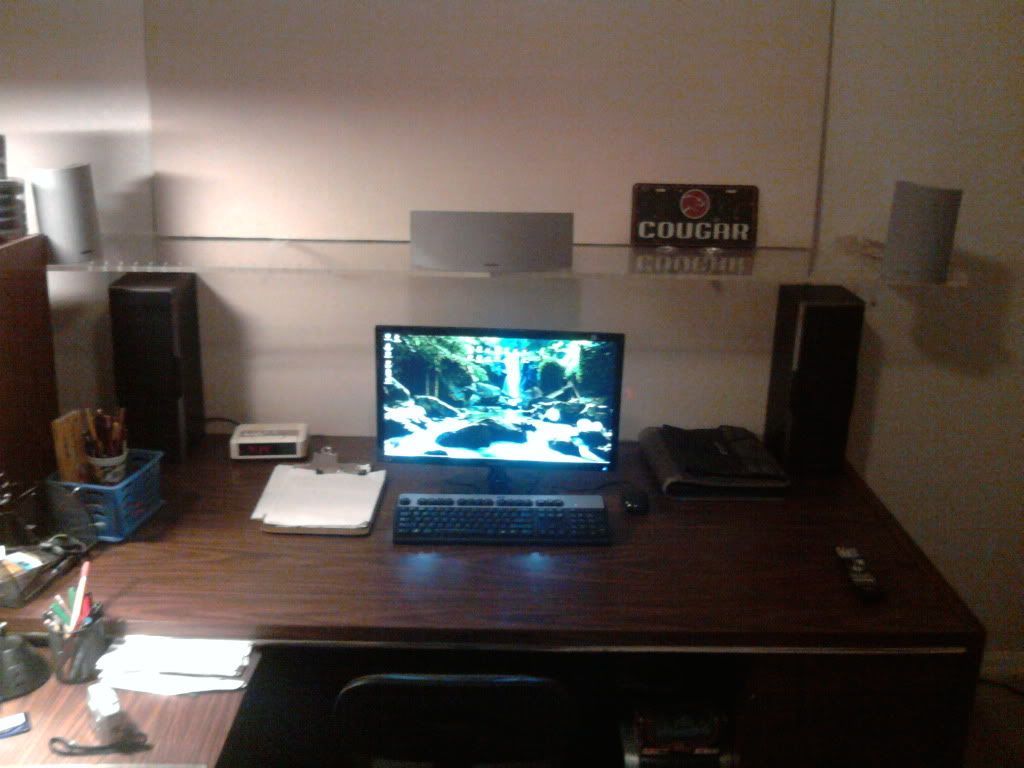
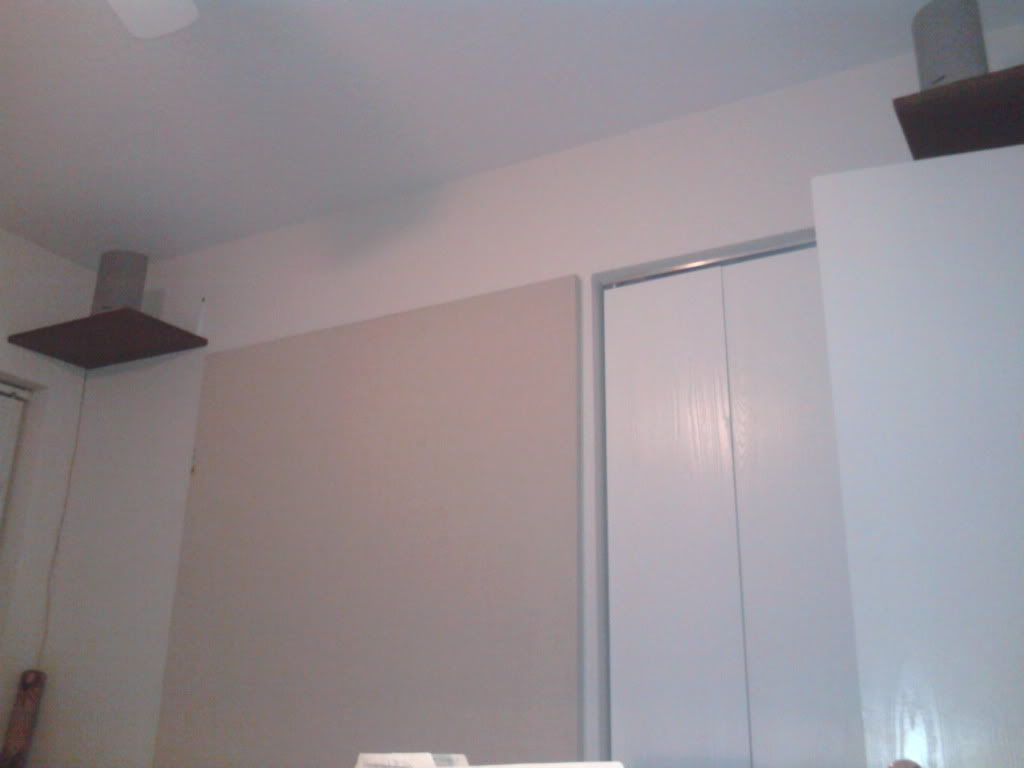
Anyway, I finally got the home theater setup in the living room and redesigned my office in the new room so here's some pics:D
52" LG plasma sitting on above all of my components. You don't even want to know what a wiring nightmare all of that is. Those are Paradigm Monitor 7's for those of you that know anything about speakers.
BIC America Venturi 2-way's for rear's sittin on top of dual 18" subs that I built. Yes, overkill, but they're cool as hell to show off.
This is my office which is about as customized as an apartment can be for someone who still desires a good renter reference later lol.
This is an entire 7.1 (5.1 with 4 fronts) system and there is the brains of the operation, the 5.1 receiver running all 6 5.1 inputs straight out of the back of the LF/RF-RS/RS-C/S of the PC. The sub's hiding down there too.
My crown jewel, the 6x3+2x4 L-desk I salvaged for free from a job site. Centered it in the room this time to make a proper sweet spot for the speakers. Swapped the layout too so that I would have more room for the keyboard and mouse on the bigger section. Just no room for everything on the little one.
All 5 front speakers. The big black ones are for 5.1 and the smaller ones above run in sync with them for stereo output. There's the 23" Samsung LED e-bay special too.:D Oh, and yes, that is a plexiglass shelf:hick:
And the surrounds, high and wide. Big ass sound panel too, to help deter front reverb and fake rear sounds. I've got 5 sound panels up in this room and they're still not enough. Music and games sound great but I plan to also use this room for voice over recording and there's still too much reverb in here and it shows up in recordings. I need to get two more the size of this one and I'll be set.
So there's the new place mostly moved in. I'll get pics of the driveway tomorrow:giggle:
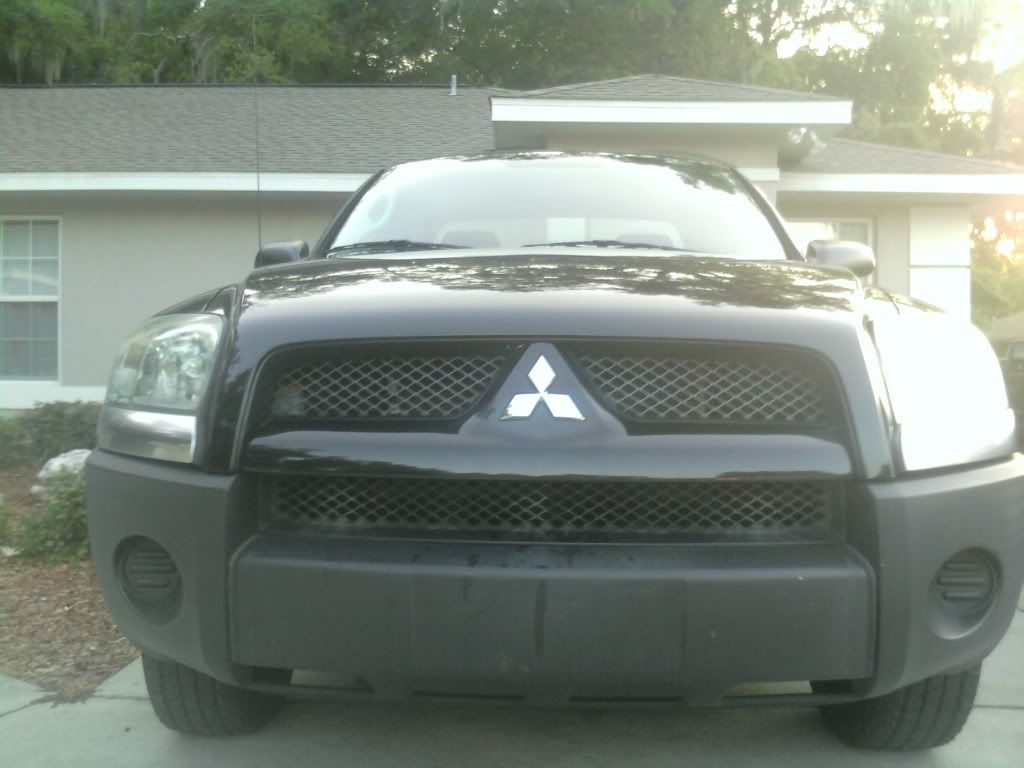
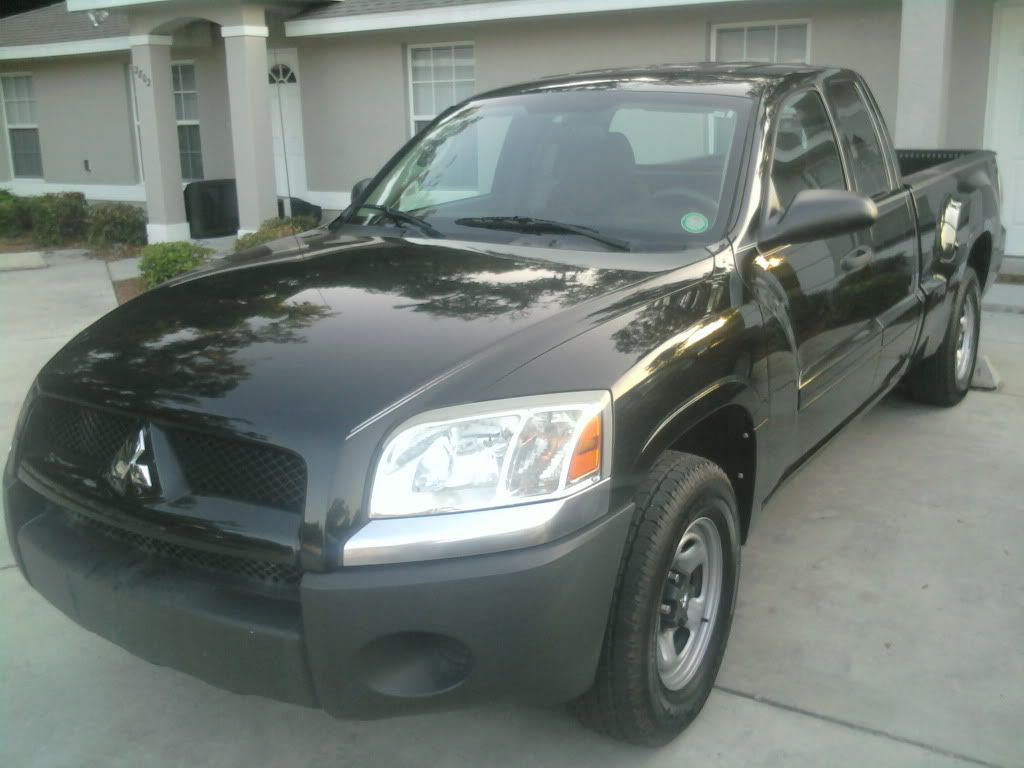
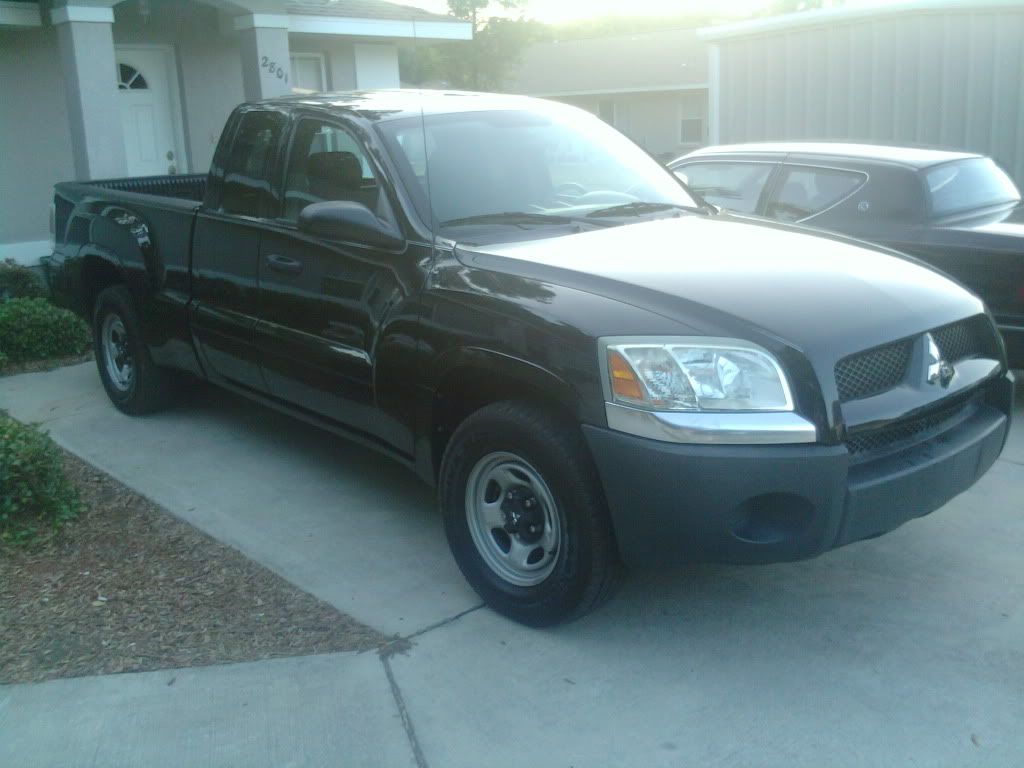
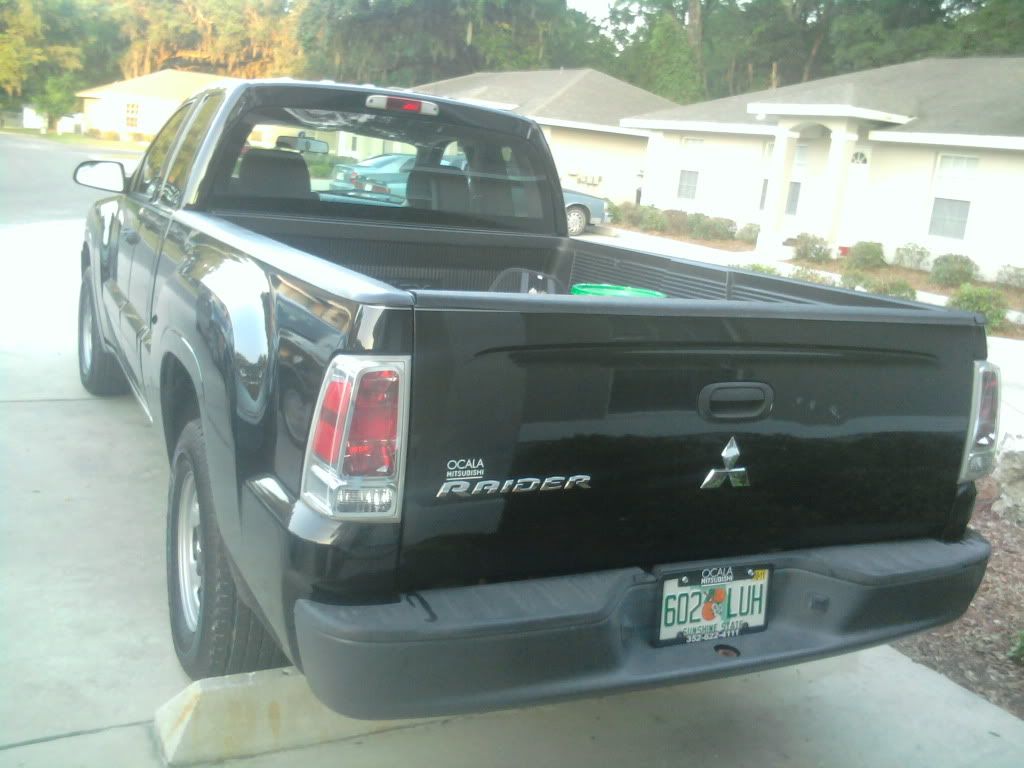
I had [am having] a heck of a time learning to drive the manual trans, but it's very nice to have
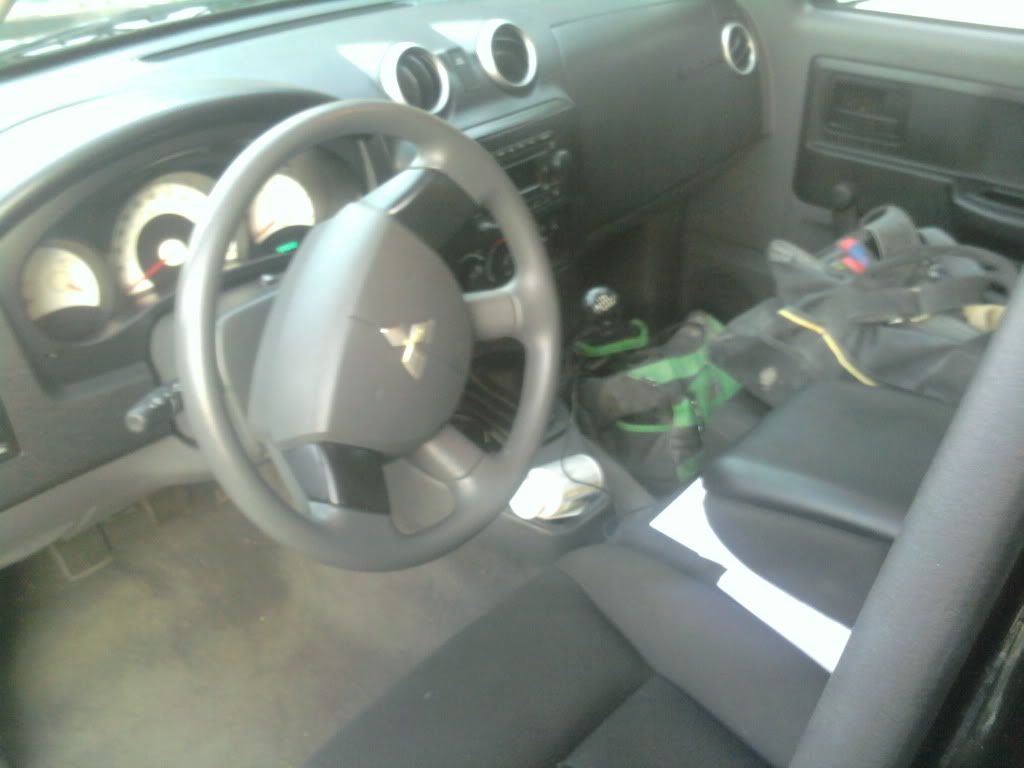
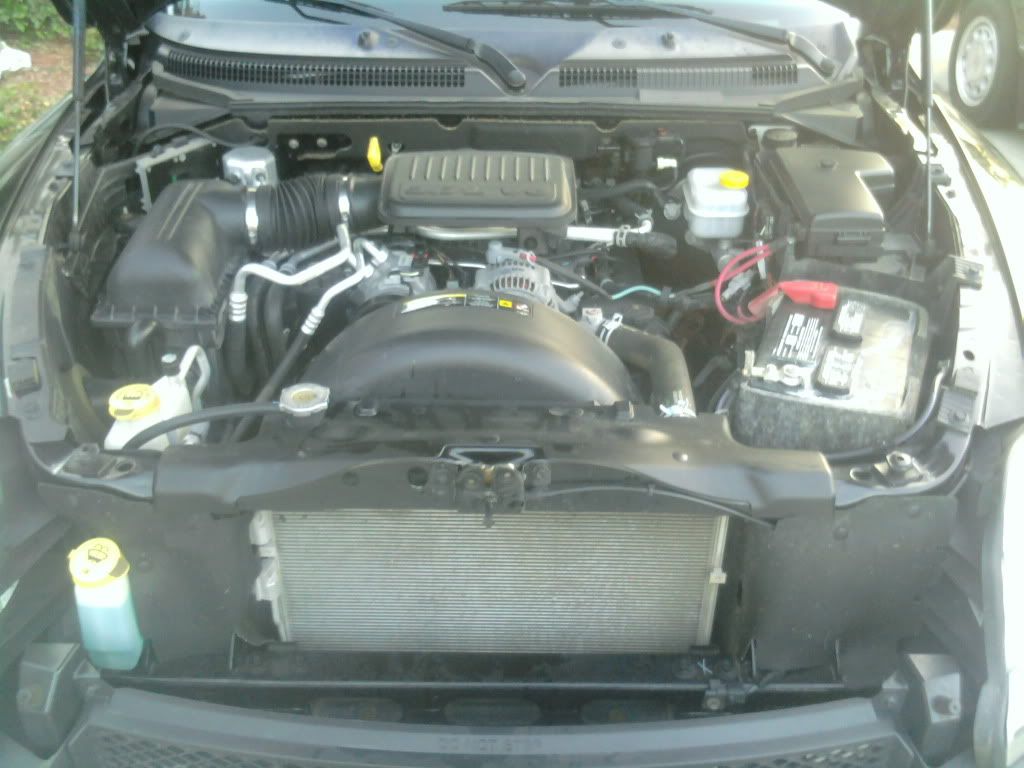
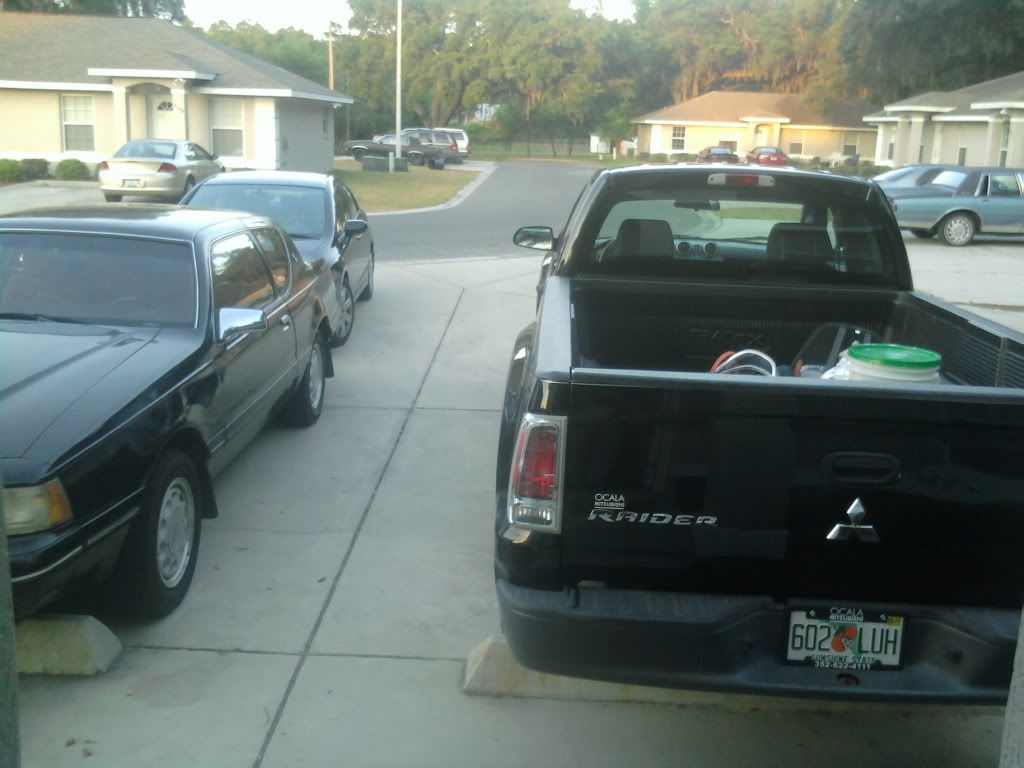
1. A truck. 2. A vehicle with a (factory) warranty. 3. A puppiesanese truck that actually is manufactured by Damler-Chrysler and rolls off the Dodge assembly line, because its actually a rebadged Dakota. 4. What was the last thing? I can't remember.... OH YEAH! 3 black cars in the driveway!:cool:
I was very sad to send the bird to the yard but its a good yard and I know he will not crush it till its picked to the bones. Now I've got a truck to break in. This is the newest vehicle I've ever owned, and the first one I've ever financed in my name so it's kind of a big step for me. I'm pretty psyched about it:D
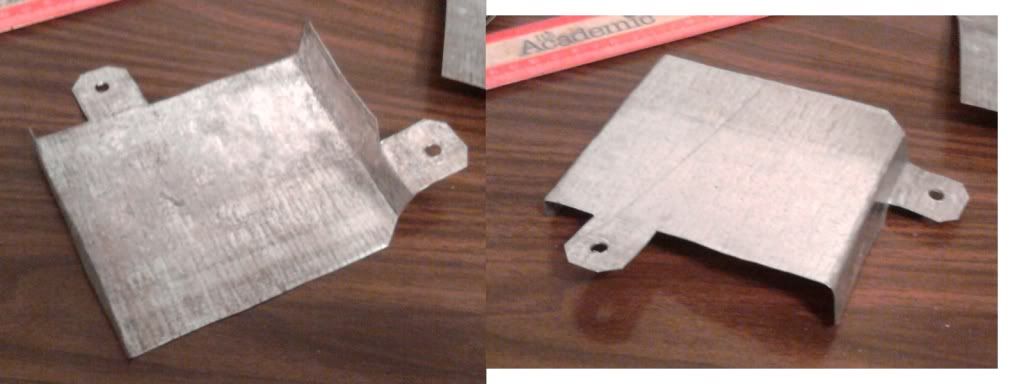
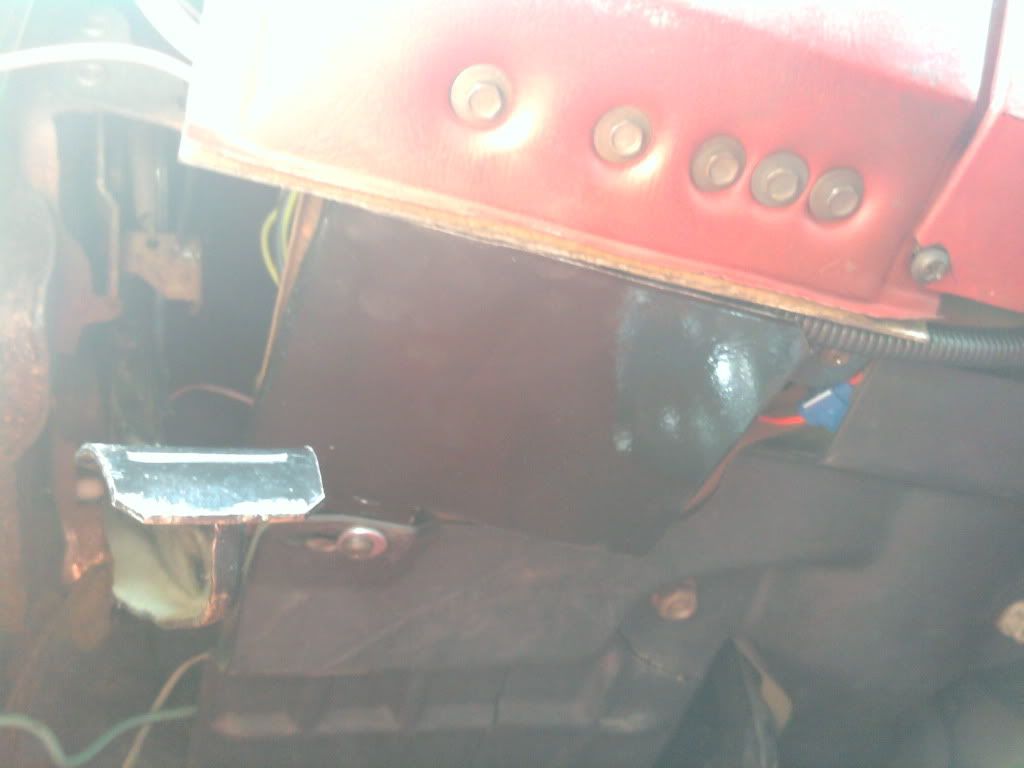
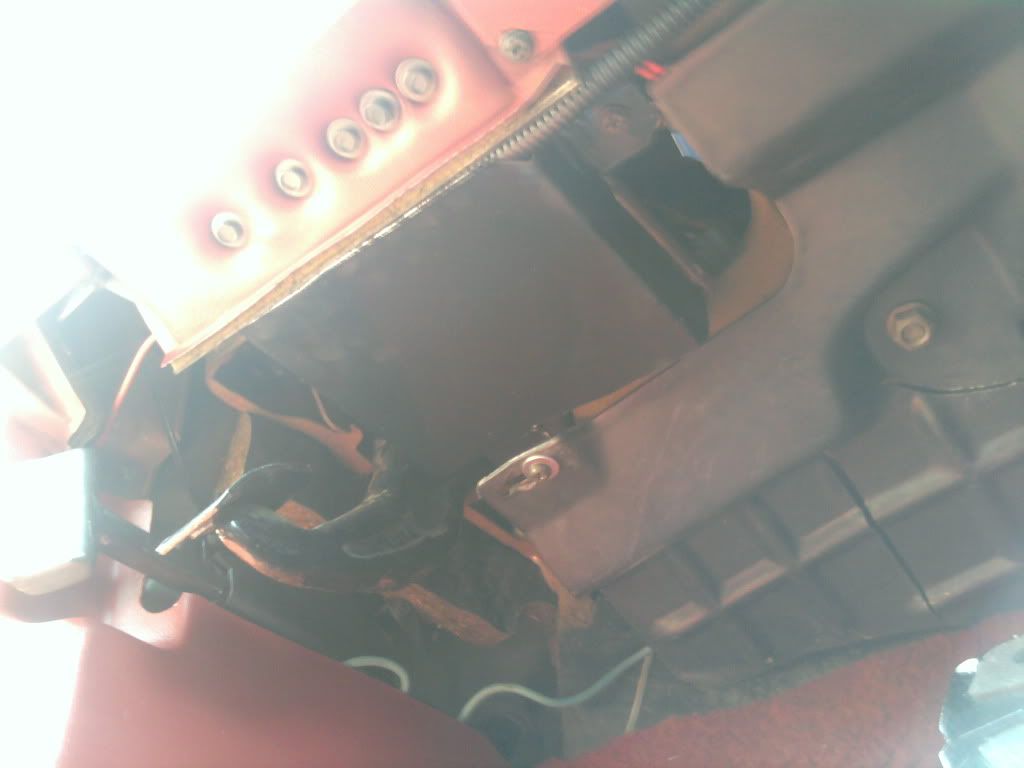
So when I installed my under-dash trim, I was dissapointed that it didn't cover the fuse panel, and from everyone I've ever talked to, there never were any covers for the fuse panel, so I made one:D
Taken from another thread but its very indepth so I though I would post it here for future findable reference.
Ok. Here we go.
Here is my write up on how to properly install the webelectricproducts STS-1 kit. Pay attention if you plan on getting these because the way you have to do it is a little different than what is shown in the instructions. Not because they are bad instructions, just the way our cars are setup. What is getting done here is basically the same thing, just done in a different process.
Step 1. Well heck, everyone knows step one is disconnect your battery. But who does that anyway? So the real step one would be to get yourself a pair of 3157 sockets and cut out your taillight assemblies to accept them on the innermost light where a 194 socket currently resides. Then of course you need to put them in, and splice together your brown and black wires in that spot. I did this to my car months ago so I don't have the pictures for that, but its seriously easy. Here is what I had before I started the install.
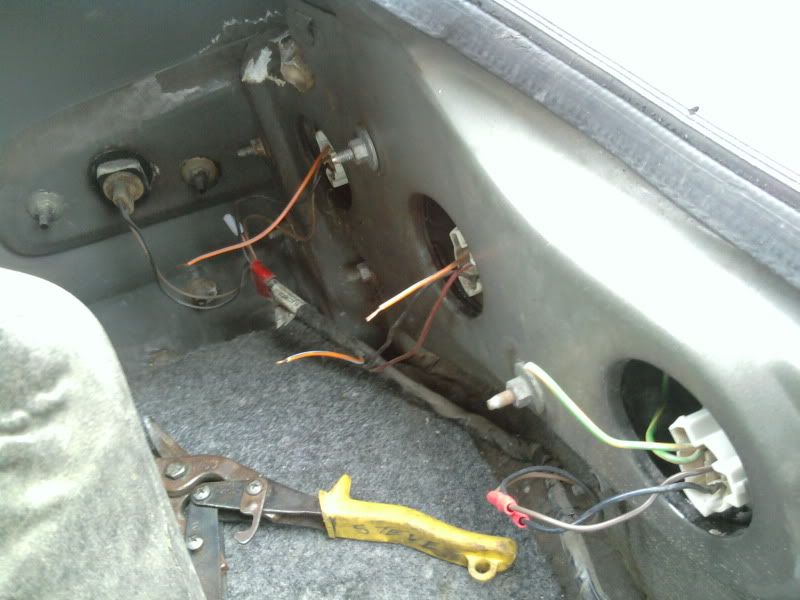
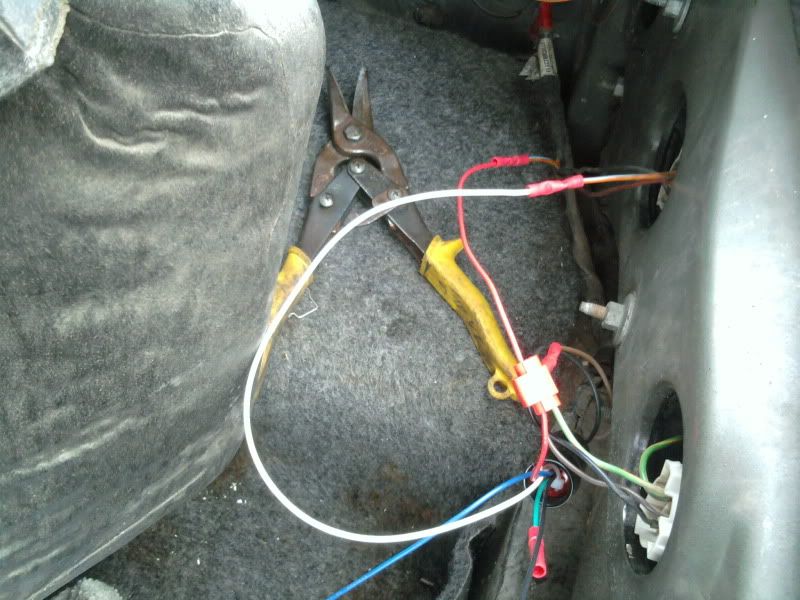
Step 2. By this time you should be in your trunk and have the panels torn off and out of the way. Now the fun starts. First you need to cut and bare some wires. Now pay attention, its important which ones get cut. Look in the picture below. You can see that the colored wire on the outer two sockets are cut and are bared. The other end of the wire that was connected to the outermost socket from the loom is nutted off so that it does not cause a short. This wire is no longer necessary. You will also see that the innermost socket, the new one, is not bared.
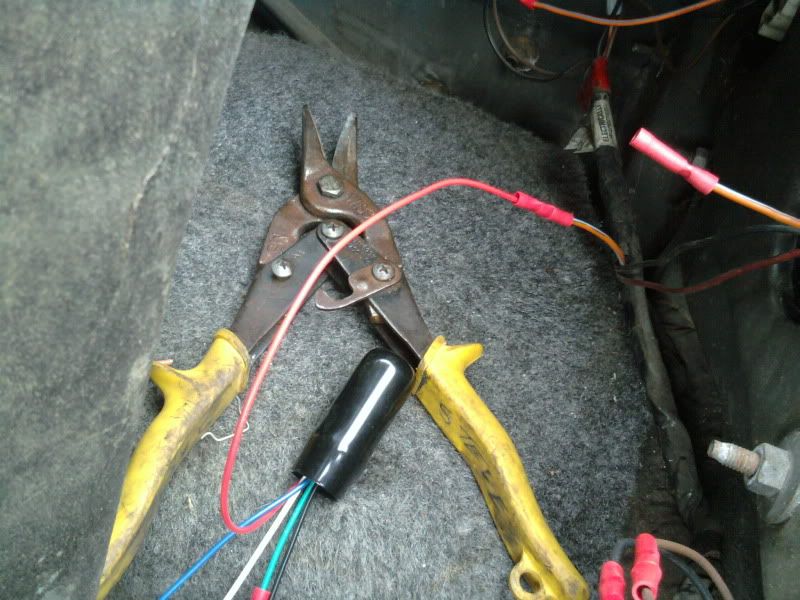
Step 3. Now you need to start the connecting of the sequencer module. First thing to do is connect the red wire on the module to the colored wire from the loom that was connected to your middle socket. This and the next step are the parts that vary from the instructions. If you haven't figured it out yet, you'll see why in a minute. I used butt crimp connectors to make these connections, simply because I had some, and I prefer them over wire nuts. The wire nuts that he supplies are plenty adequate however, should you choose to use them.
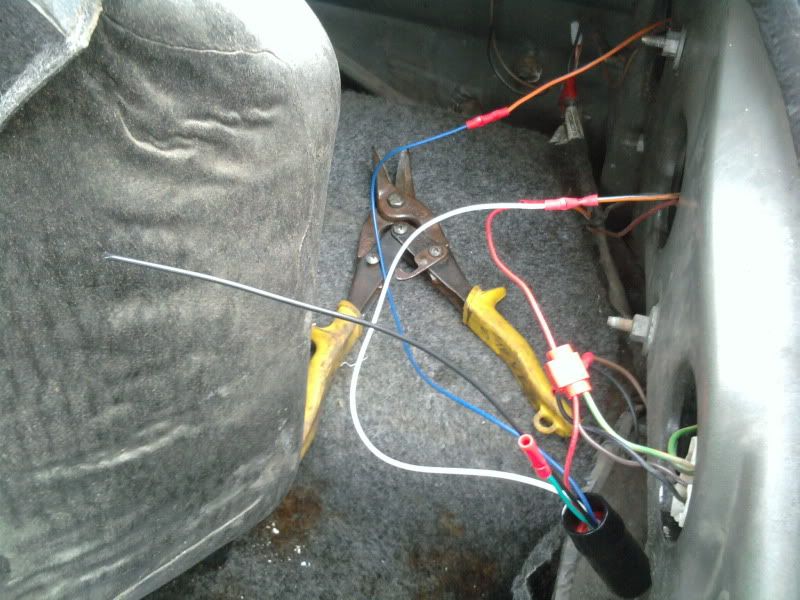
Step 4. Now you need to take one of the provided scotch lock connectors, or quick splice or t splice or whatever you call them, and connect the red wire to the unbared section of the new socket that you installed. Now you see why we changed the directions. The instructions say that you should splice your red wire into the first socket on your tail lights. Well, since our cars by default did not come with one on the inside, we can't do this. However, it does not matter which signal wire it is connected to, since they all flash at the same time. He only tells us to do this for ease of installation. We can just as easily connect to the middle wire. But, the important part is that the red wire on the module controls the first light in the sequence, so we have to be sure that the signal reaches the correct bulb, thus we connect it to the inside light.
Step 5. Now we connect the white wire to the middle lamp.
Step 6. Next we connect the blue wire to the outside lamp.
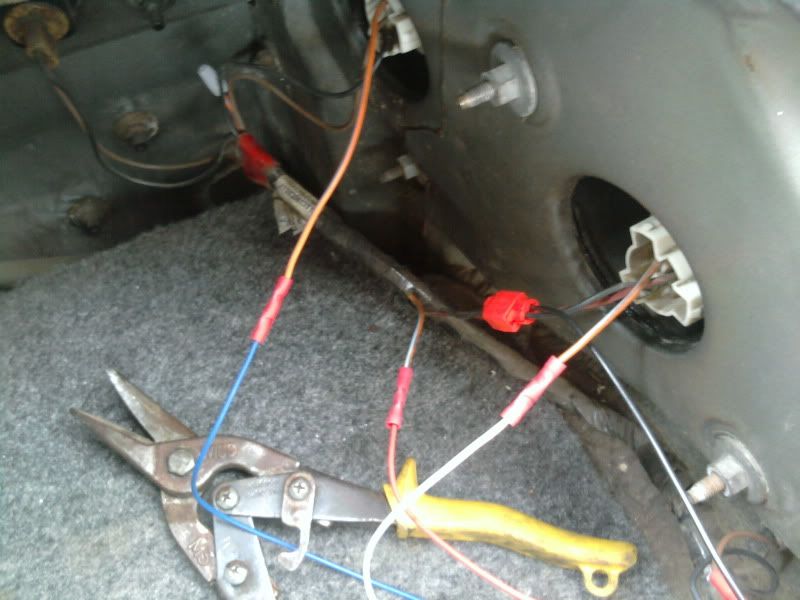
Step 7. Now we connect the ground, black wire on the module, any black wire on our sockets. I used the one on the middle light, just for ease of installation and least confusion later. Grond is ground, it really doesn't matter which wire you connect it to, just be sure to use the scotch lock connector so you don't have to cut up the wire.
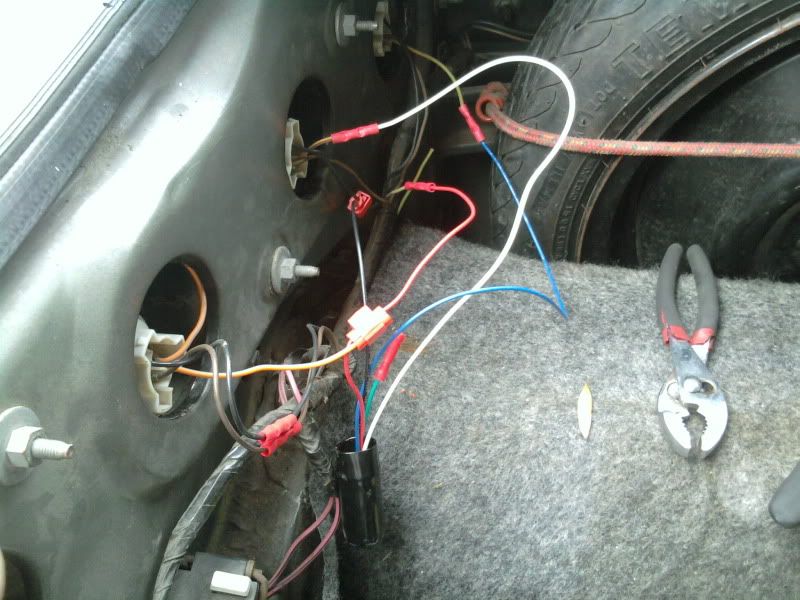
Step 9. Repeat process on the other side.
Step 10. Make sure everything works properly and if so, button everything back up and you're good to go.
Now my friends, enjoy your kit, hopefully it works out. Mine did, and here is what it looks like. Keep in mind I am using LED bulbs and a thermal flasher, so yours may blink a little differently.
For this vid I did a few left signal, a few right signal, few hazard flashes, stepped on the brake a few times, then turned on the lights, and did each side a few times.
Is there a sort of aftermarket plug or cover or cap or other... filler... type... device... made to cover up the area in the firewall where the lines to the evaporator once were running through and now you have a giant hole in your engine compartment?
At first I though it was my browsere having a problem but it does it in IE and on my phone too so what's going on there? anyone else had there "Settings" tab diappear and now all you get is a tiny invisible box to click? Just not understanding why that would happen all of a sudden... been this way for about a week